Showing posts with label Cozy Crafts Corner. Show all posts

Monday, February 13, 2017

A Little Cake And Heart Health...


A Bite Size Cake, Living From Glory To Glory Blog


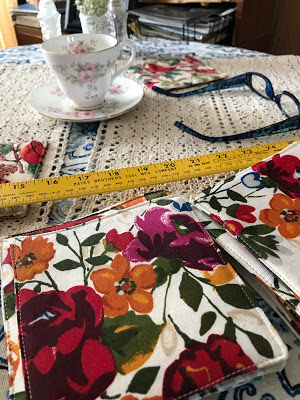
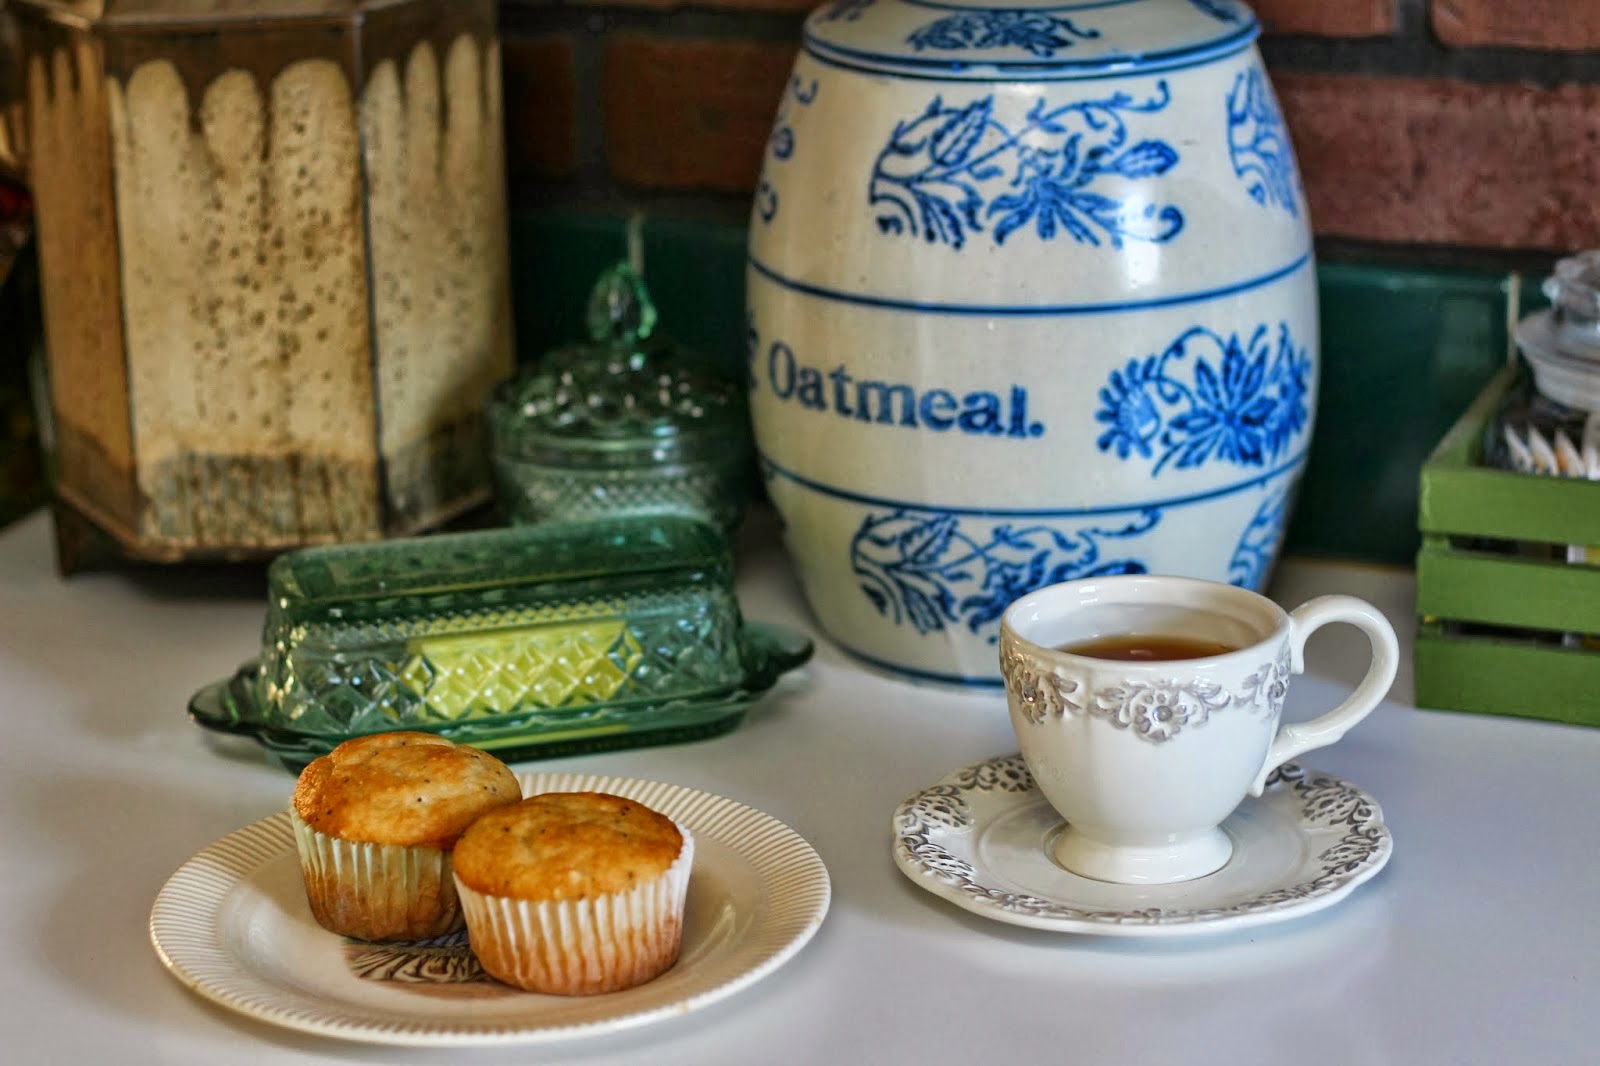
A Little goes a long way...

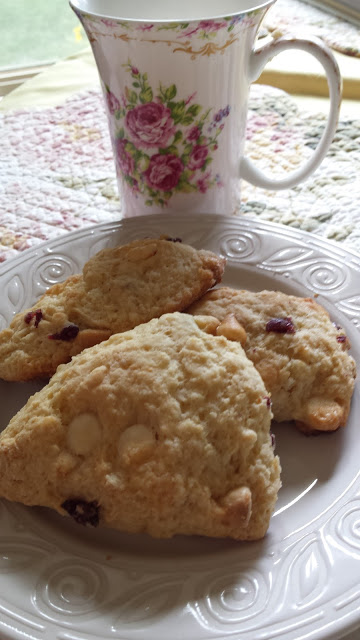
I have noticed that we usually desire something small and sweet to eat after
A meal or dinner or a luncheon...

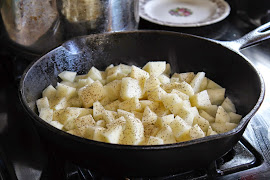
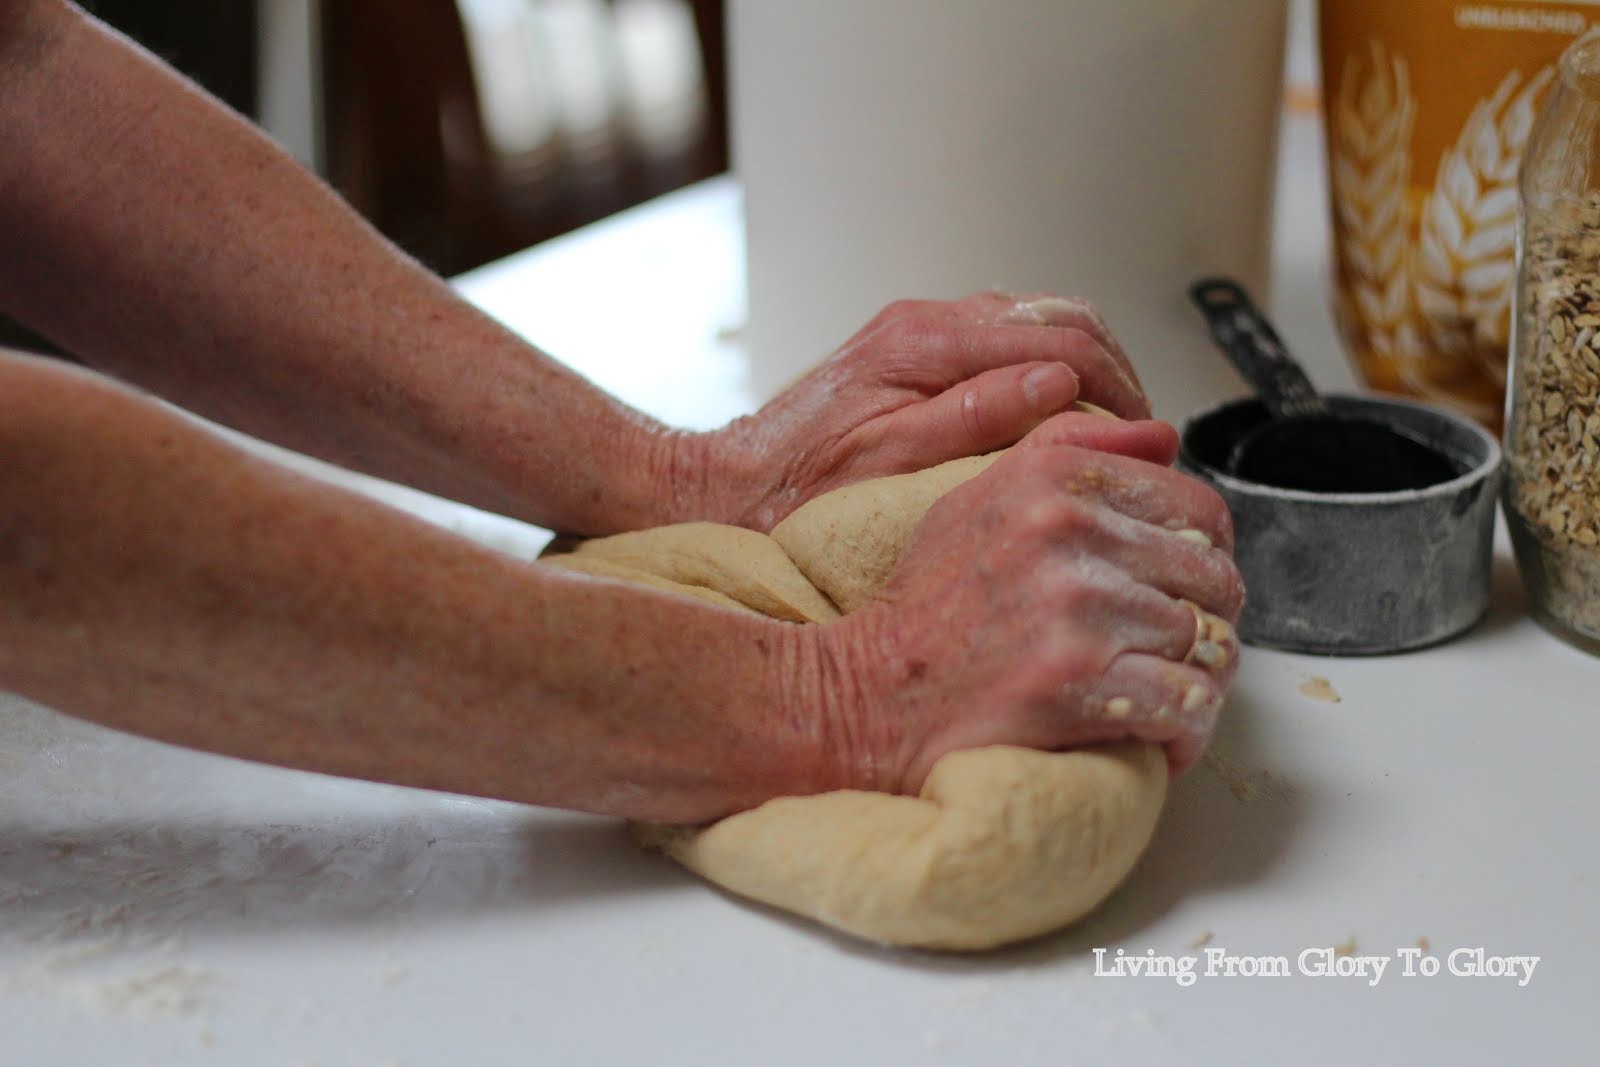
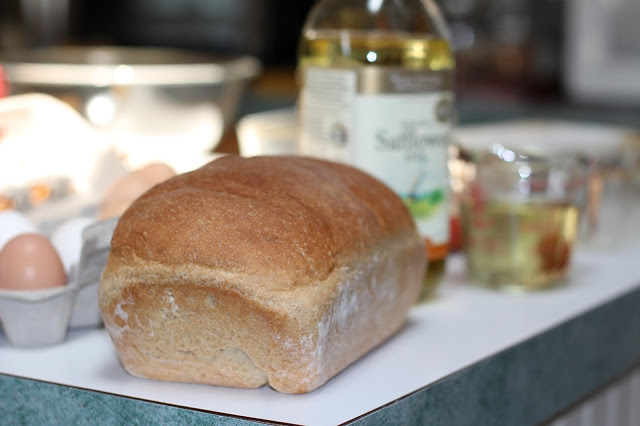
I have been making some smaller loaf size of quick breads and freezing them.
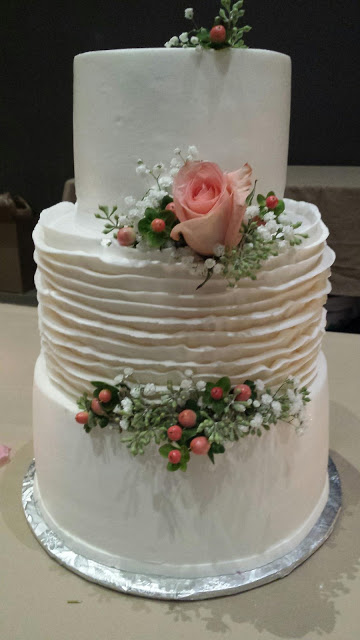
And I enjoy a smaller cake, so I believe you can take just about
Any kind of cake batter flavor, and put them a small cupcake size pan.
They cook faster and they are easier to serve.

So many after the first of the year go out to an all out war;
Against sweets and you name it!

But we all know we are going to crave something sweet...
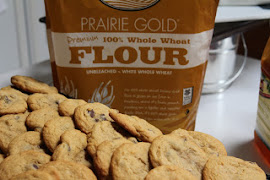
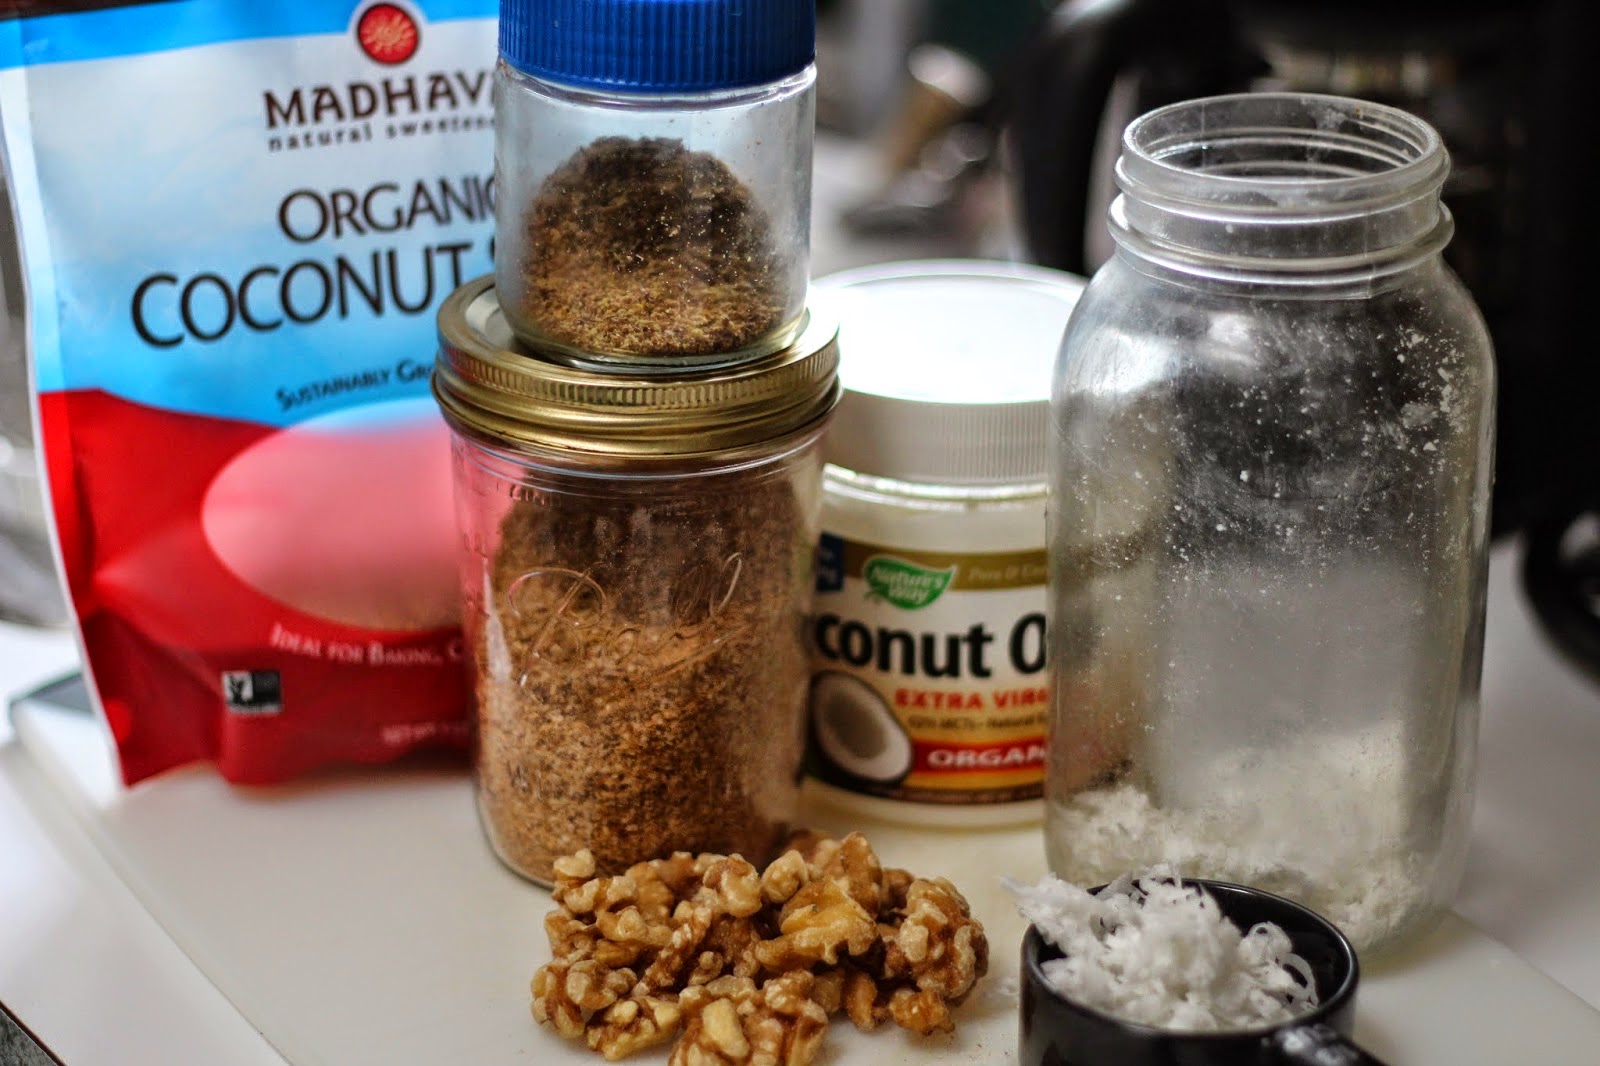
(If you are gluten free, just use a mix that is gluten free,
Or just make up your own homemade batter.
You can buy Gluten free flour at any grocery store now days.

I have never felt good about depriving myself of sweets!

There is always going to be a new fad or a new food;
I get that, but eating all foods that are tolerated and eating variety;
In smaller portions is always a wiser way to eat!

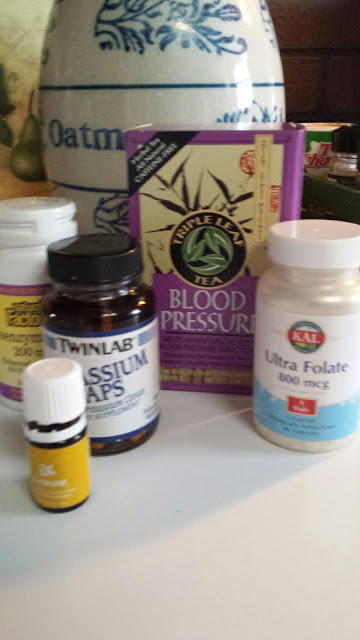
When my blood pressure got high;
(I was told juice, celery and drink it every day)
My blood pressure problem was genetics, so all the celery in the world,
was not the answer for me!
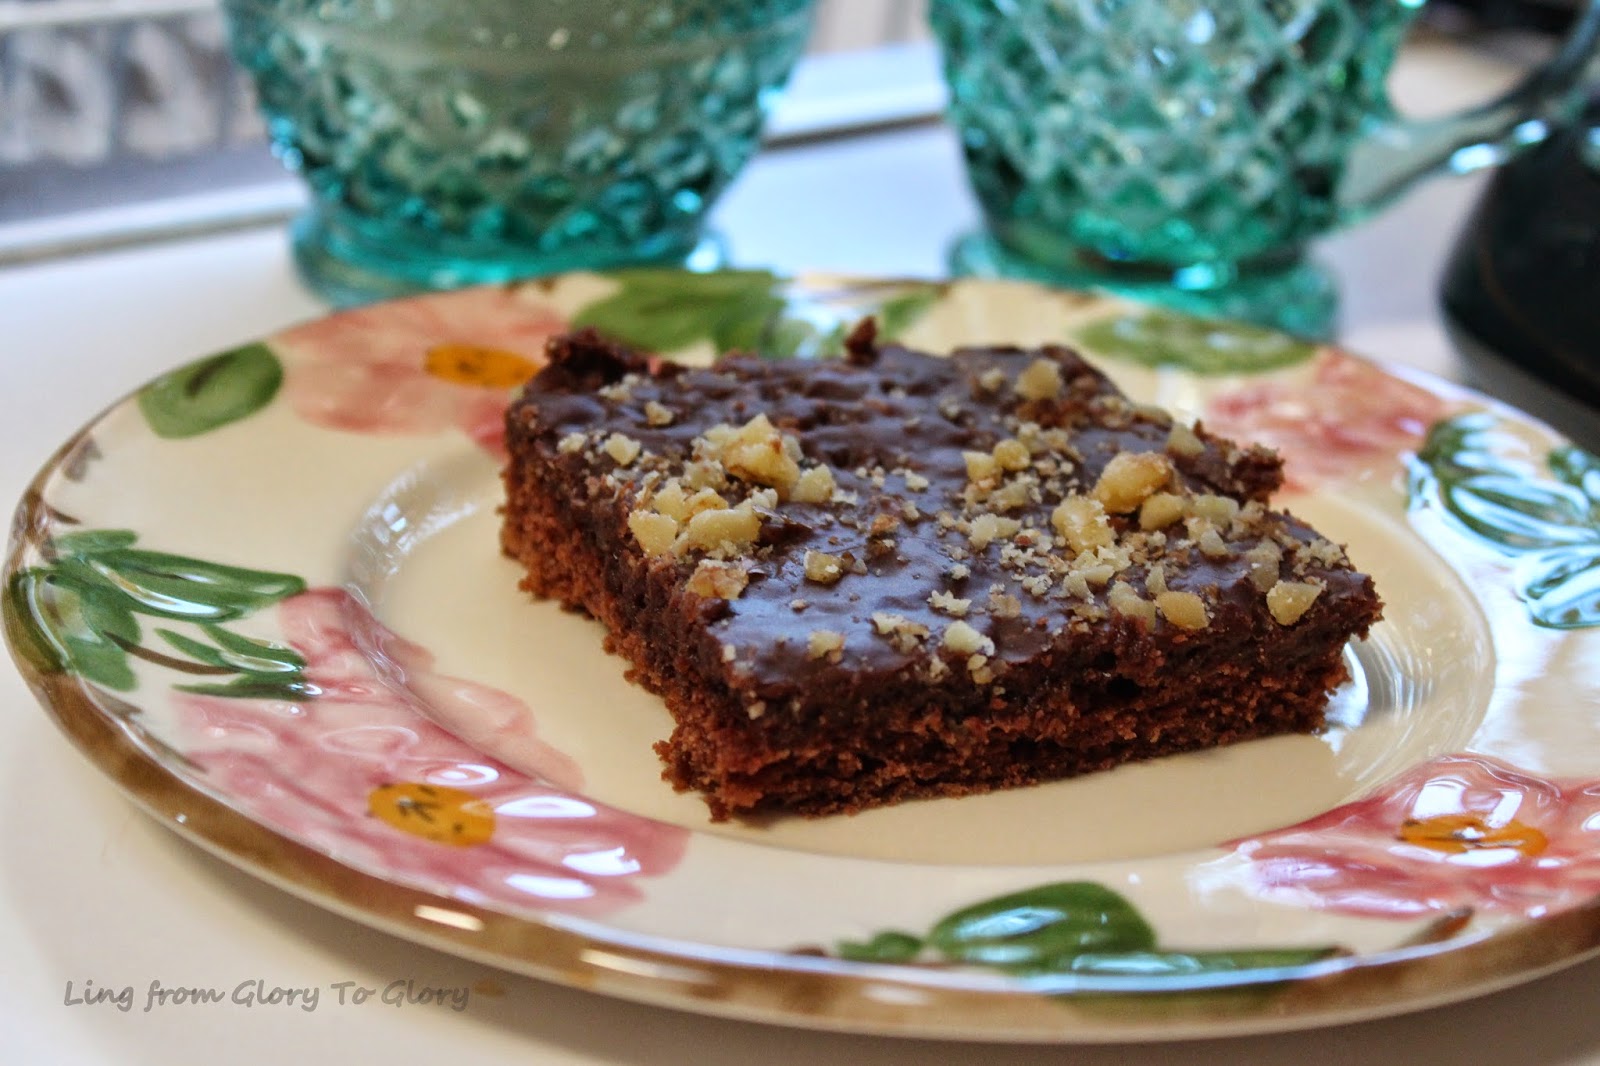
But I do hope we can enjoy a bit of cake without harming our health!

As we all know we have to watch our sugar intake;
I kid you not everyone you talk to is either pre-diabetic or a full blown diabetic.
So we all need to cut back on our sugars and starches
and all forms of wheat and carbohydrates.

Enjoy the good things, just don't indulge and gorge oneself.

Everything in moderation...


Heart Health

May I take just another moment to remind you all that heart health is
So important to our well being...

I know you all know about saturated fats and bad oils.
Do you know that being unforgiving in your heart
will cause you?

If you think anyone of us is exempt from forgiving others;
You are being deceived...

It is not always easy, but we can do it with God's help!
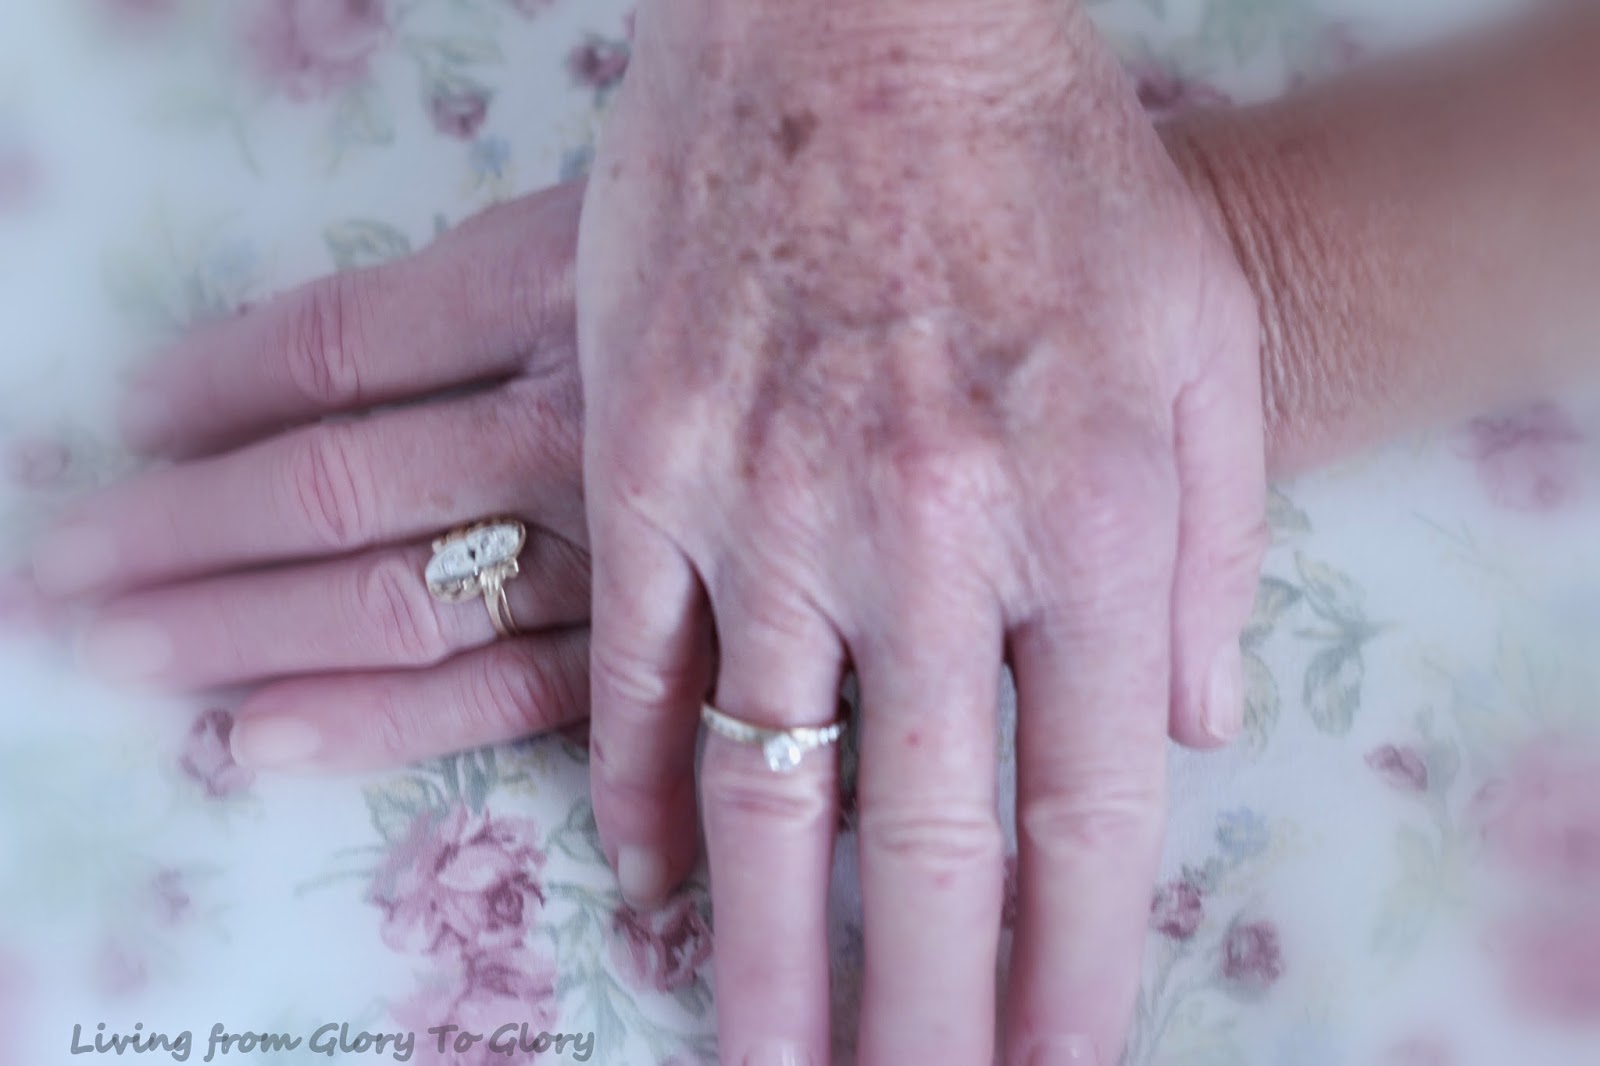
True Love
Not remembering their wrongs!

Blessings, Roxy

What is happening on the home front
My computer crashed
Got a new one and it is tough learning the ways of the newer ones!
Internet was down
My car was no longer reliable!
Got a new one, well new to me...
I have learned to not worry and just trust the Lord
He makes all things new in His timing!

~May your HEARTS be filled with Love & Joy~


Friday, January 20, 2017

Dish Towels Made From A Drop Cloth...


Making these dish towels from a drop cloth was very easy!
It also made a lot of them...
Firstly, I washed the drop cloth in my washer and dried it.
I used a drop cloth that was 100% cotton.

I used a dish towel that was a size that I preferred for my pattern!
Some towels are just too short or long and even to wide.

I cut them to size and then I ironed a hem, then I did a quick
Run on my sewing machine.

I embellished them with bits of scrap material and some I added a bit of lace ribbon.

It was so easy peasy and I made a ton of them and gave them away as gifts.
I kept a few for myself and have found them to be a superb towel!

I wished I had taken a few more pictures of all the ones I made.
But really you can use the colors that match your kitchen!
Make a few for friends and family!

They would make a nice gift for a Bridal shower,
 because these babies hold up in the kitchen!


This was the label that was one the one I purchased for this project!
I found mine at a store called Harbor Freight.

I do love a good dish towel and these are really a very nice quality;

In these long winter months you could make some for gifts or for yourself!

Have you ever tried making anything from Drop Cloths?

If you like this idea feel free to put it on your Pinterest Board

Wednesday, September 21, 2016

Making Fabric Pumkins And Adding Some Fall Ambiance In Your Home...


How To Make Your Own Fabric Pumpkins, Living From Glory To Glory Blog

Making Your Own Fabric Pumpkins

I really enjoyed making these fun fabric pumpkins,
 so I wanted to share them with you ladies.

You can make them in so many different sizes and different fabrics!
And You do not have to know how to sew   : o)

Choose some fabric that has a fall or an autumn design or just considered fall colors,
Plain or with a pattern even the country style!
(You can even tea stain some material for this craft)

I traced on the back side of the material
3 different sizes of a circle's, small, medium and large.
The larger ones are a bit easier to work with!
I used my largest bowl and then a large plate and a smaller bowl.

You will need to use a needle and thread and go around the top of each pumpkin;
Do this gathering stitch just about 3/4 inch in so it pulls the gathering nicely.
Use a gathering stitch and also make sure you have a big enough knot
at the end of your thread, so it does not slip through the fabric!

Once you have finished this, you will stuff the pumpkin with your
crafters Fiberfill stuffing. You want it to be full just not overly stuffed.
(Closing up the gap in the top can be a little bit harder,
But maybe you can have someone hold your pumpkin and close it up
as tight as you can. Then tie it off and knot it a few times!
You must make sure you do this well, do not be afraid to add as many stitches as
you need to get it closed and stuffing stays inside of it)

Find some wooden stems from your trees or an old sunflower stem
or you can use cinnamon sticks as your pumpkin stems.

You will need to use your glue gun and apply enough glue to the end
Now press it down into the middle of your pumpkin.

Items Needed For This Craft

Fabric of your choice
Choice of a stem for your Pumpkin
Glue Gun and glue sticks
Ribbon
Moss, grass for covering the top of the pumpkins
Needle and thread
A bag of Polyester Fiberfill for crafts

Any other embellishments you like;
Fall leaves (I bought mine from the dollar Store)
Buttons
Ribbons
Also, we found very tiny chalkboard signs we attached to some
of the pumpkins and we wrote Happy Fall on them!

This really has been a super easy and fun craft!
One of the ladies that I had over to make these told me that
she planned on making some more of the tiny ones and will give
them  away as a gift with a loaf of pumpkin bread!

I did use some burlap material, but I also had to use embroidery thread
And an embroidery needle to sew the gathering stitch for this one.
The burlap was stiff and was harder to work with.
But the burlap I chose had some specks of gold in it and was really pretty!

You can make them as large or as small as you like;

Tip: Always use a popsicle stick to push the ribbons and moss on your
Pumpkins, so you do not burn your fingers!!


~Use Your Imagination and create a lovely fall ambiance in your home~


Monday, April 4, 2016

Beware Of Some Of The Adult Coloring Books...


Beware Of Some Of The Adult Coloring Books...

So many ladies have been going wild over the new craze of adult coloring books!
In the beginning of this new fad, it was very hard to find these adult books.
Many ladies ordered these online.
Then many stores starting carrying these coloring books!
Some of them had a bend towards New Age!
Also, they were laced with Hinduism symbols.

Living From Glory To Glory Blog...


I think many times we think these little things do not matter.
But after giving it some thought and reading some negative information on these types,
of coloring books. I now feel that it deserves a warning!


A mandala is that beautiful circle pattern that looks like it would be impossible to draw free hand. 
It is also a “spiritual and ritual symbol in Indian religions, representing the universe.
 In common use, mandala has become a generic term for any diagram, chart or geometric pattern that represents the cosmos metaphysically or symbolically; a microcosm of the universe.”
(Wikipedia)

I have been given two really lovely coloring books...
The design is sweet and very beautiful!
You can feel very artistic and creative with the colors you choose to use.

Many women have expressed that by coloring it helps them relax!
It can be very soothing and yet interesting enough to use your brain.
So if you are using, these adult coloring books, I do hope they
Are the ones that are pretty and do not contain these things.

I believe engaging in even patterns that carry a motif that is not christian,
is not really very wise in a choice of design.

I realize that many will think this is a bit nit picky, but I have learned
that even in the small things we can make choices that bring glory to God.

The coloring should be fun and safe and not opening oneself to Zen or meditation!
Just because everyone else is using them does not make them safe!

You can color, but purchase ones without all that stuff.
It is rather fun to find a sweet coring book and I loved buying new coloring pencils!

Have you purchased a coloring book?
Have you enjoyed coloring?

I do hope you all have a blessed and creative week!

Blessings, Roxy


Wednesday, February 3, 2016

How To Make A Very Easy Heart Banner...


Living From Glory To Glory Blog

~A Heart Banner~

This is a super easy way to make a very cute Heart Banner.
It would look very cute over the mantel.

All you need is a deck of cards
(You will need to punch holes in the cards
You will use all the heart cards in the deck!)
There will be thirteen of the heart ones.

Some different colors of ribbon
(Red and some white with some polka dots, stripes, hearts)

Also, you can use strips of fabric along side the ribbon!
The more the merrier...

You can purchase small amounts of a Valentine theme fabric!
You will have fun picking these out!

You can use any cord or rope or a heavy twine to string the cards on!
 Then add some ribbon and fabric strips placed between each of them!

You will also need a hole punch!

This is a rustic and heart and homey look!
You can also add some clothes pins to clip a cut out heart between the cards.
I like to use those pretty heart lace doilies!

Use your own imagination!
Have fun...

You can buy a few packs of playing cards at the Dollar Store!

You Will Need

Deck Of Cards
Twine or rope or ribbon
Hole punch
Fabric strips
Ribbons
Clothes Pins

I do hope you give this a try as it is very cute and cheap to make!

You can make one for yourself and one for a friend!

And really this is so easy your children or grandchildren
 Would love to make one!


Living From Glory To Glory Blog...


Friday, December 11, 2015

How To Make A Crocheted Snowflake Ornament...

Living From Glory To Glory Blog

 How to  make a Crochet Snowflake!


Here are a few of the snowflakes I have made!
I find it very relaxing and it is a small project that can be completed in a sitting!
I used a very lovely white with a bit of silvery thread in it!
It sparkles and looks very festive.
I made one for each of my grandchildren...
I downloaded this video link
 And I can pull it up if I have forgotten how to make them.
I made a few different ones and I liked this pattern best!
It has the nice points on it and I also did a chain link to be able to hang it!

You can make these on long winter evenings and have them ready for next year!

Tell me if you give this pattern a whirl!


Crochet Snowflake


While teaching in a live class, we decided to wing making a snowflake together. This is what we came up with. It’s really simple but looks so pretty.


You can use your own yarn stash to make these little snowflakes
Size H Crochet Hook, 5.0 mm
Instructions
Ch 4. Join with Slip Stitch to beginning Ch to form a ring.
Ch 3, dc into the ring, ch 3. *2 dc into ring, ch 3. Repeat * around. There should be 6 sets of 2 dc between each ch 3. Join with a slip stitch to top of beg ch 3.
Slip stitch across top of 2 dc in round 2. Then slip stitch into ch 3 space. Ch 3, 3 dc into same ch 3 space, ch 1. *4 dc into next ch 3 space, ch 1. Repeat * around. Slip slip stitch to top of beginning ch 3.
Slip stitch across the top of the 4 dc in round 3. The slip stitch into ch 1 space. *Ch 5, slip stitch to same ch 1 space, ch 5, slip stitch to ch 1 space, ch 7, slip stitch to chain 1 space, ch 5, slip stitch to chain 1 space, ch 5, slip stitch to ch 1 space. (There will be a total of 5 loops coming out in the same chain 1 space. Slip Stitch across the top of the next 4 dc’s and repeat * around. Join with with a slip stitch to final chain 1 space. Fasten off.


Click the link below for the directions;

A Crochted Snowflake Ornament


Here are three of them together!

Blessings to each and every one of you!


Thursday, July 23, 2015

The Frugal Benefits Of Finding Just The Right Pattern For Sewing A Skirt...

 
Living From Glory To Glory Blog


I So Enjoyed Sewing This Skirt...

Sewing can be very rewarding and so good for your wardrobe!
Once you find a pattern that fits well you can make so many
different skirts of many different pretty fabrics.

Finding a pattern that fits well and looks pretty is no easy task!
And once you get the pattern pieces cut out, that is half the work.

It is a pattern that requires a knit fabric, which is a favorite of mine;
Easy care and requires no ironing!
It has an easy fit and does not cling tightly.
The pattern that I am using is by NEWLOOK 6108
It only has 3 pieces and an elastic band for the waist!

Finding a nice blouse or top to go with each one is
sometimes a bit of a challenge.
So if I have a pattern skirt and then I need a solid top.

And finding fabric that is reasonable is all part of the journey.
This is where sewing a simple skirt can be a very frugal way to add
A very nice piece of clothing to your wardrobe!

I am no way a seamstress. But I am always learning.
I did find a real treasure while out antiquing today;
I found a look alike vintage dress for a few dollars!
So soft and feminine looking!


I am always buying fabric for aprons which is my weak spot,
And they only require a yard of material.

But, I did find a full fitted very old apron that is just beautiful!
But it is paper thin and I will need to cut out a pattern from it!
It has very petite tiny purple flowers and a beige background,
And the bias tape is the thinnest I have ever seen.
 Which is a deep purple!


I always wonder where the days go...
If an apron could talk and the stories they would tell!

In my sewing room, I have;
~Drawers of material that long to be cut out and sewed up as pretty aprons~

Living From Glory To Glory Blog


I did buy some very pretty yellow curtains for my living room today!
I was shocked at how bright the living room seemed!
Sunshine and Sunflowers...

I wish you all a lovely and creative season...

What are you all up to in these HOT dog days of summer?


Monday, May 4, 2015

How To Make A Ironing Board Cover...


Living From Glory To Glory Blog

How To Sew Your Own Ironing Board Cover...

Making a new ironing board cover can be really a great idea;

My Reasons for wanting to make one myself;
I wanted a certain fabric to match my new sewing room that had pink in it
and has a vintage look to it.
 And as we know most fabrics used in ironing board covers are so modern looking.
I must admit I was a bit intimidated over the idea,

Firstly, may I suggest using the old cover as a pattern.
Measure how much length of material will be needed to cover your board
All ironing boards are not the same size or width!

Purchase a fabric that you love in color and design
Make sure it has a sturdy feel to it and will wear the use well.

Buy two packages of single bias tape to use for the draw string.
Purchase a color that matches your fabric

Purchase one package of Velcro Tape.
This will be put on the underside of the cover to keep it in place;
While on your ironing board.

Buy enough draw string cord to go completely around the cover,
Once again measure from your old cover for the length needed!
But buy at lease 12 inches longer to tie a good knot or bow,
And to assure not running short of the amount needed!
(You can buy all these things from the fabric store)

And of course you will need thread and a good pair of scissors!

Now lay out your fabric and lay the old ironing cover on top;
Measure twice, then start cutting around it and leave at least two inches extra!
Now lay this fabric on your board to check to see if it will be too large;
Or just right, that is why we add a bit extra.

Now, Add your bias tape,
Slowly start pinning it to the fabric, starting at the bottom flat edge of cover;
You will be leaving a small opening to add your draw string!
Once again refer to your old ironing board cover.
Pin the bias tape completely in place first!
Remember to keep the tape even so your draw string will go through it!
Have your pins facing into the cover so as you sew, you can remove them.
Start sewing from the flat bottom (remember to leave your space)
Go completely around the cover!
Remember to back stitch when you start and finish to reenforce your stitches!

Living from Glory to Glory Blog


To add the draw string, use a safety pin and tie one end of string to it;
Then start pulling it through the bias tape that is sewn on your fabric.
Once it is all pulled through, make sure the other end does not come out.


Now lay this over your ironing board, start allowing it to contour to the board.
Pull it gently to you get a nice fit!


Then, once I make sure all fits well, Now, I sew into the backsides some
Velcro tape to keep it in place and it does not slip or move around!
I place the Velcro  tape in about three places, but two places might be sufficient.


When I had my sewing room painted our son put in an ironing board unit 
right into the wall for me. And because of its smaller size I was needed
A cover that would fit properly, but also I wanted a pretty one!
These Hide A Boards are really nice...

So because of this unique size needed it inspired me to make my own!
I am really glad I did as it was a fun and not really that hard!

I always leave the old cover and padding on as I like the extra padding
it adds to the board. So I just place the new cover over the older one!

TA- DA 
 A new ironing board cover!

A few years back, I purchased from Etsy a new ironing board cover for myself 
 and I loved it as it was a fabric that had roses on it!
So I guess it won't be long and I will be making a new one for that board also!

I enjoy ironing and find it quite relaxing;
Also, I use it while crafting as a table for my items!

A good quality ironing board is a wise investment, just like a good pair of scissors!
My kids knew not to touch my good scissors (smile)

Hope you enjoyed seeing how I made mine;
Sometimes we need to try our hand at something different!

Also, I think this would make a nice item for stay at home Moms to make and sell!

Blessings, Roxy

Tuesday, February 24, 2015

How To Tea-Stain Or Dye Lace And Linens Naturally...

 
Tea Staining And Dye Fabrics, Living From Glory to Glory...


How To Make White Lace Or Fabric Look Vintage

When creating a project that needs a more antique or vintage look
The appearance will require something that looks like it was from
another era of beauty and style.

With just a very simple step that can make anything look very vintage!

This is called Tea Staining;

This can be done on white lace that needs to look vintage.
I have successfully done this on lace many times!

I have also done this with muslin material-
Tea Staining works very well on fabrics that are all natural 
Such as wool, cotton and linen.

~How a tea stain works to create a vintage or an old fashion appeal~

Sometimes a trim or a border for a project needs a vintage look
Any fabric that is light in color and needs a boost of vintage appeal, might just need
A bit of help from this (Tea Staining Process)

Heres How To Make This Simple Tea Stain

Boil your water
Add about 7 to 10 black tea bags to a large bowl or small basin tub
Add boiling water
Steep for 15-20 minutes
Place your lace or small linen into the bowl
Use a slotted spoon or tongs to move around your lace.

Living From Glory To Glry Blog


Watch and see how it will transform an item that looks brand new
to a vintage old fashion hue:
If you love an antique quality, you can take something new and create something
that is a one of a kind design. Isn't that what it is all about!

I have made Victorian looking rag dolls by tea staining my muslin material
Before I ripped the material into strips to make the dolls.

I have also used Tea Staining to rescue doilies that were ruined by a stain.

I have used Tea Stained lace for craft ideas and Valentine cards.

Every trim or lace will take on a different variation of color;
Just enjoy and create something that looks vintage and rich.


You can even use this on very large pieces of material that are all ready stained
You can bring new life to a table cloth that looks ruined from a stain that you have
not been able to remove!

Of course, this will require at least two large boxes of large tea bags to get this much stain,
To cover the tablecloth in a large basin or tub.

Glory to Glory Blog


Tips
"For a darker hue of stain on a piece of lace or fabric
Soak the fabric in water with a capful of fabric softener before submerging in the tea mixture
This also helps prevent the color from fading over time."

If it becomes too dark for your preference;
Just rinse under cool water!

Once you have your desired shade, squeeze out excess water and line dry!

Try this first on a smaller project to see how it works and how you like it.

Always wash these items that have been tea stained by hand!


Living From Glory To Glory Blog...


Creating vintage lovelies...

~Got Tea~


Thursday, February 19, 2015

How to Jazz Up A Plain Message Cork Board, And A Simple Dinner Idea...


Well, I finally bought myself a pre-made cork board,
I brought it home painted the sides a dark bronze color with a bit of metallic!
Then I bought a pretty metal flower for the top center to add a bit of color!
The color of the flower went well with my yellow, wild Mediterranean colors!


I placed this just under my calendar and I now have a little message area!

I was going to make up my own board, but after finding this one,
Already with the cork and a chalkboard!
Less work and all I needed was a small bottle of craft paint and a metal flower...
Ta- Daaa!

Okay, this is what I have been thinking about!
This is about the time of year when you get a bit weary with what to 
Prepare for dinner...

So if you want Chic and Easy for a Dinner idea;
It is so tasty and very satisfying!

Try Roasted vegetables in the oven;
Wash your choice of vegetables, then just slice them in the same size
Try using some
   Potatoes, regular and a sweet and some cauliflower,
Add those root veggies you like
Some squash like butternut, Brussel sprouts.
Eggplant...
Check below for your suggestions to roast!


Drizzle with olive oil, add whole sprigs of rosemary herb,
Cover with some foil for a little while, 20 minutes or so,
Bake in a 350 degree oven till a fork goes into them and they are tender!

You can sprinkle some grated Parmesan cheese on them
 After they cook through completely and you are ready to serve them!


Sometimes we just need a small project that is affordable and yet is very useful!

Being able to jazz up something plain-jane can be fun!

May we all see our kitchens as a place to be a blessing and nutritious too!


What are some veggies that you think would work well in this 
Roasted Veggies Dinner?


Broccoli, Asparagus, Garlic cloves, Bell Pepper. Sweet Potatoes.
Parsnips, Carrots, Red Potatoes, Onion, Beets.
Baby Bella Mushrooms
Green Beans, Garlic Roasted Taters, Squash,
Bacon...

Thank you for your input Ladies!


Tuesday, February 3, 2015

A Frugal Gift Idea Made From Lace Doilies...

Living From Glory To Glory Blog, Frugal Gifts

A Pretty Frugal Gift...


Here is a very frugal craft idea;
That makes a very sweet gift for you homemaker's!
These I have made for myself to place in my home.
I like to use them because they are so small and do not interfere with
My tabletops decor, or the use of the table.
I have placed a small lamp on them;
Draped them over a basket;
Placed a vintage bottle upon it!


Firstly, check out your fabric stores such as Joannes or any other;
Purchase a few of these small doilies, they come in small, medium or large.
The small ones run about $1.99
The price goes up with the larger sizes.
You can buy them in a few different colors;
For this project, may I suggest the white or cream color!


I did iron them to make them nice and flat;
(I love to iron)
My sister asked me why I iron everything?
I told her without missing a beat
~ was this~
Well, it's because some days it's the only thing I can control!
The wrinkles in my clothes;
Of course until I sit down (smile)


You can either glue on your little flowers or bows;
Or you can tack them on with needle and thread!
Some of the little flowers have a self stick glue,
But it does not hold for very long,
 So you will need to still use one of these two methods!


Evenly space out your little Rose buds or the bows; or even buttons!
I remember years ago when making ones with little pearls on them,
I actually used material and beaded a flower pattern onto the material.
It was a lot of work;
That is why this project is easy and frugal


I gave these as gifts to my girlfriends last year for Valentines Day
I think these would also make a lovely hostess gift to give!
Also for a Bridal shower;
They are a frugal gift with just a pinch of homemade added to them...

Use your own imagination and make a few up to have a quick gift on hand!

Sometimes even the smallest little touch can make a home seem special!
It really is the little things we do in our homes, that make them comfy!
Remember, each day to do something that says
~I Love You~


Friday, November 14, 2014

How To Make A Tea Cozy...


How to make a tea cozie, Living From Glory To Glory Blog...

Making Tea Cozies

Making tea cozies are very easy and so much fun to make!
Getting so much enjoyment from them this next cooler season.
I think many vintage tea rituals have become a lost art.

I have always loved seeing a tea cozy being used.
After all, if we want a cup of tea, we want to drink it Hot!
So, if you get in the habit of brewing up a nice pot of tea,
This little tea cozy would be a wonderful addition.

I have quite a few tea cozies
 as I wanted one of each different fabric I made them in.
But I did give a few away;

Items Needed:
1/2 yard of material for outside: 
1/2 yard of material for the lining:
 You can use fleece for this also
1/2 yard of batting or fiber: 
(For insulating between layers)
This batting is what keeps the tea nice and hot!

You will be needed two of the outside materials, lining and batting;
So place your pattern on the fold of your material!

And a pattern 11x14 shaped like a half circle
(Use a paper sack or wrapping paper)

Scissors
Pins
Lace (for the bottom edge)

Buttons for the top if you want one!

You can really embellish it with anything you like!


Living from Glory to Glory Blog


This is a very easy and fun sewing idea!
Quick yet look very professional sewn.
They are pretty costly to purchase for one's self.

~See my sweet strawberry pin cushion~

Having a good sharp pair of scissors is wonderful to cut the
fabric out with.


Living from Glory to Glory Blog


Here is a very easy tutorial we found after we figured it out
for ourselves! She has a British accent she explains it very well!
Just click on it:


Easy Tea Cozy for you to sew by Debbie Shore


Here is my friends blog post showing her Tea Cozy
I made her last year.


Tea Cozy, Living From Glory To Glory Blog...

When we made these Tea Cozy's last year we had a day long
~Sewing Day~

In order to get so many made we worked side by side;
We had so many lovely fabrics to choose from;
My friend Pam had a closet filled with fabric,
She was so gracious in sharing with us ladies.
Thank You Pam!


Living From Glory to Glory Blog, Sewing Craft

The sweet red one was one my DIL made;
She did place some cute buttons on hers!

I also made another one for a dear friend that I wanted to share
Here is a link to one of my favorite bloggers
You may know her; Her name is Lydia,
She has been a source of encouragement to me for a very long time.
Visit her lovely blog here:
Home Living


I hope you will try your hand at this fun and lovely tea cozy!

Love, Roxy


Copyright © living from glory to glory | Powered by Blogger
Design Customized With ❤️️ by My Fairy Blog Mother