Showing posts with label A Wise Womens Pantry. Show all posts

Friday, April 25, 2014

How To Organize Your Recipes...


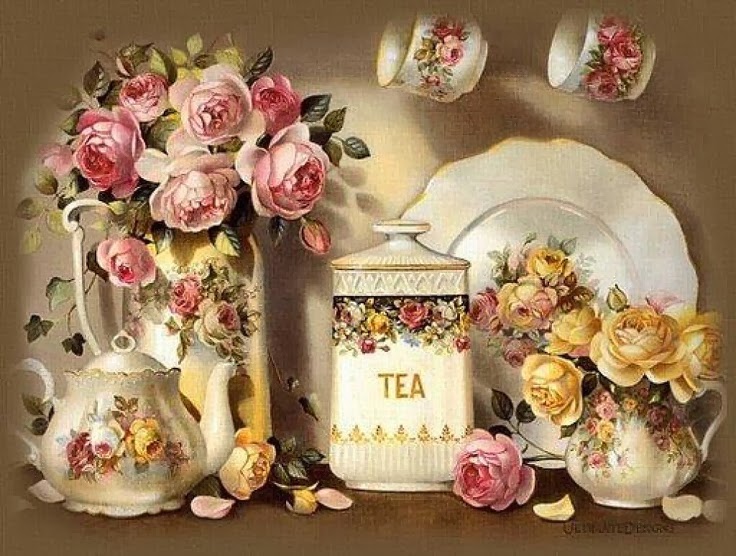
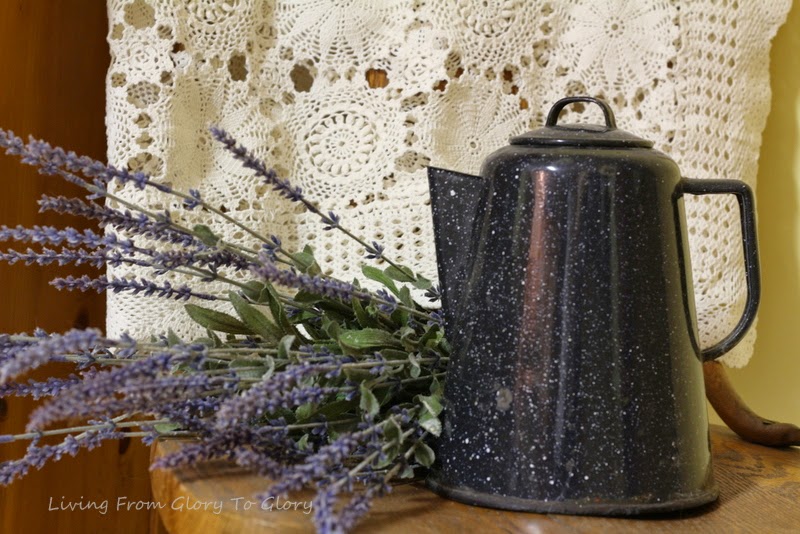
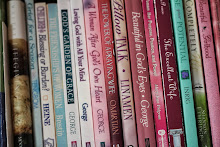
Every Women needs a place to keep her recipes,
 quick and orderly...
To rely too heavily on the internet is not really wise.
How many times have we all experienced the internet being down or not
having the precise recipe we are looking for.
Let's think about for a moment what makes a good dish or combination 
of foods really special?
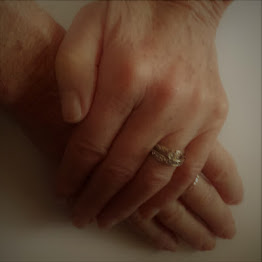
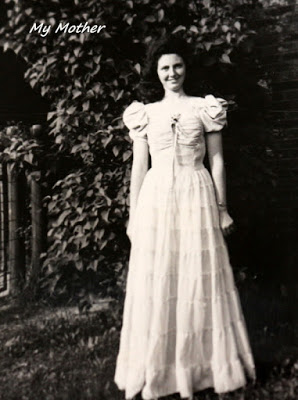
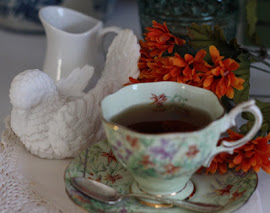
The taste of course, but the memories that are associated with certain
recipes are the best part of cooking;
Especially during holidays and birthdays and family get togethers.

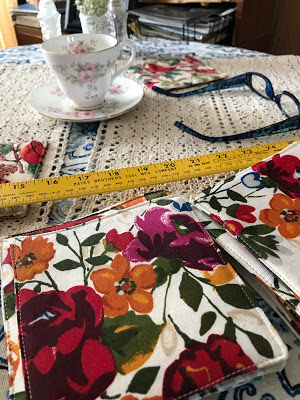
Here is what I did to have my favorite recipes handy and organized and protected.

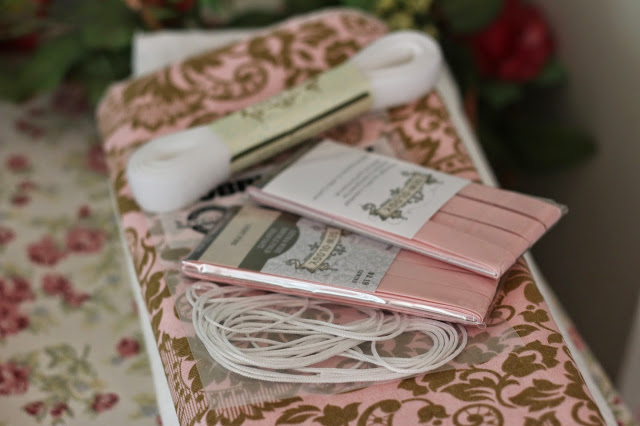
Firstly, purchase a box of plastic covering sheets,
Also purchase a few vinyl notebooks.
I did make a few different categories with my plan!

Here is where you put all your Main Course recipes and Side Dishes!
All my casserole dishes go into this one. All my delicious stews and soups.
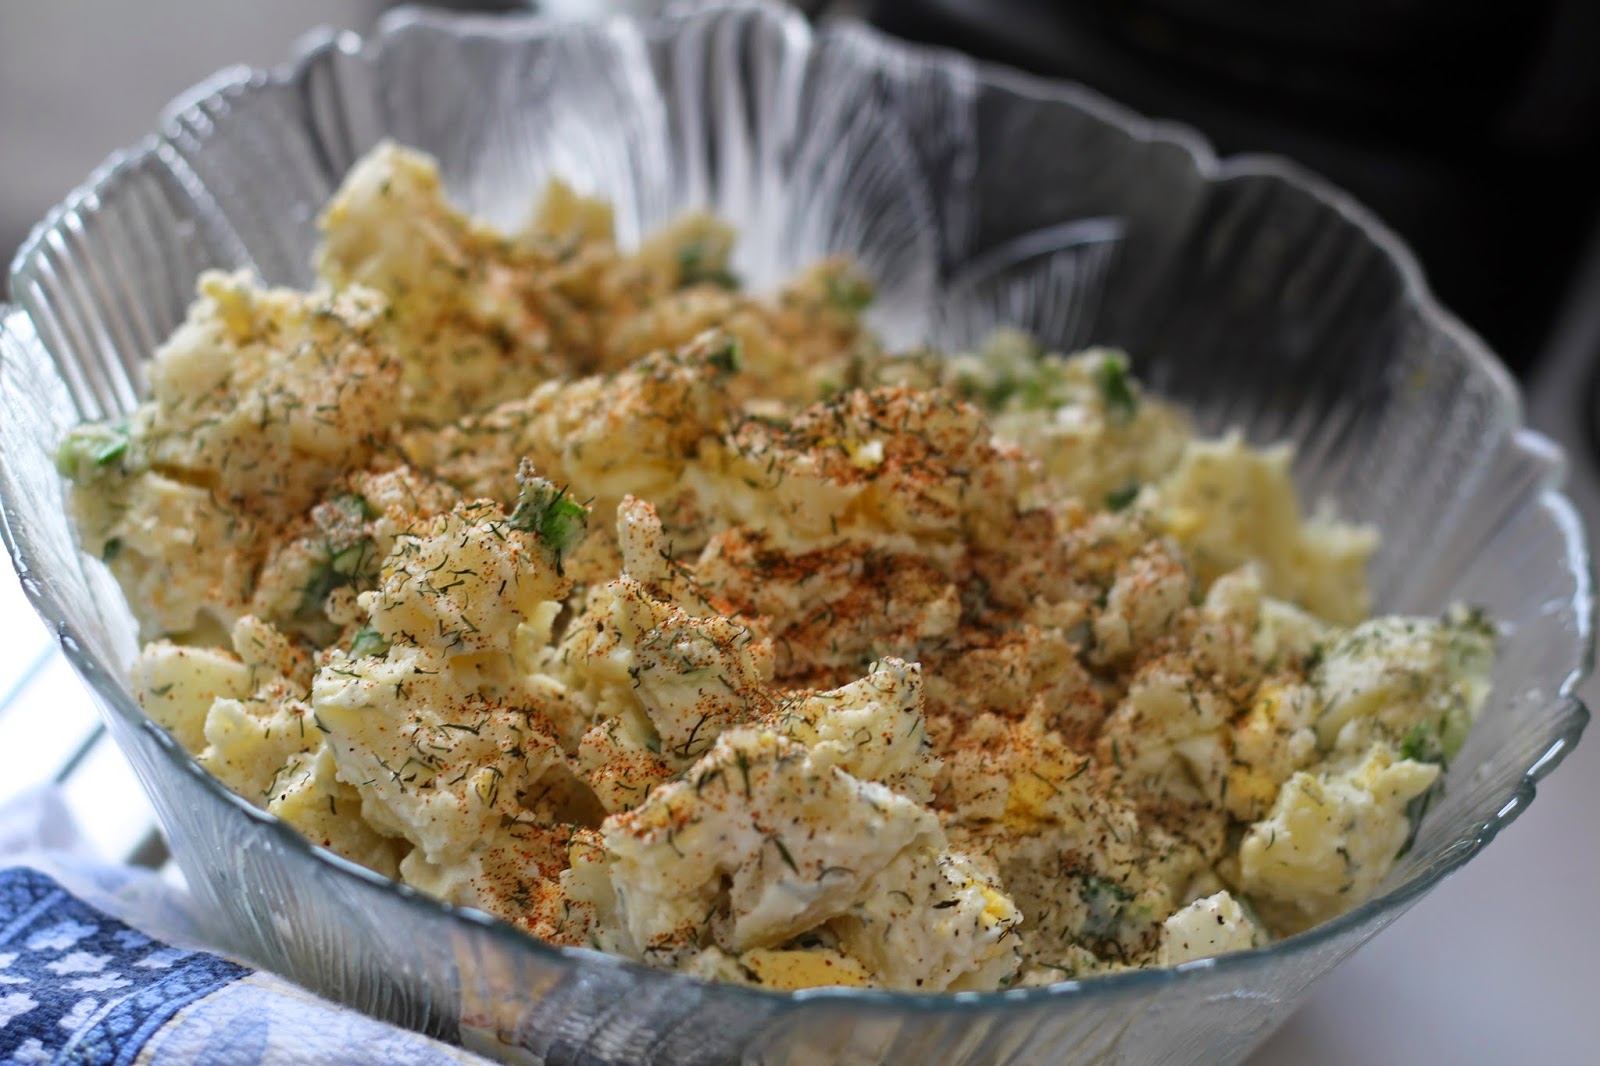
Salads and Rice recipes.


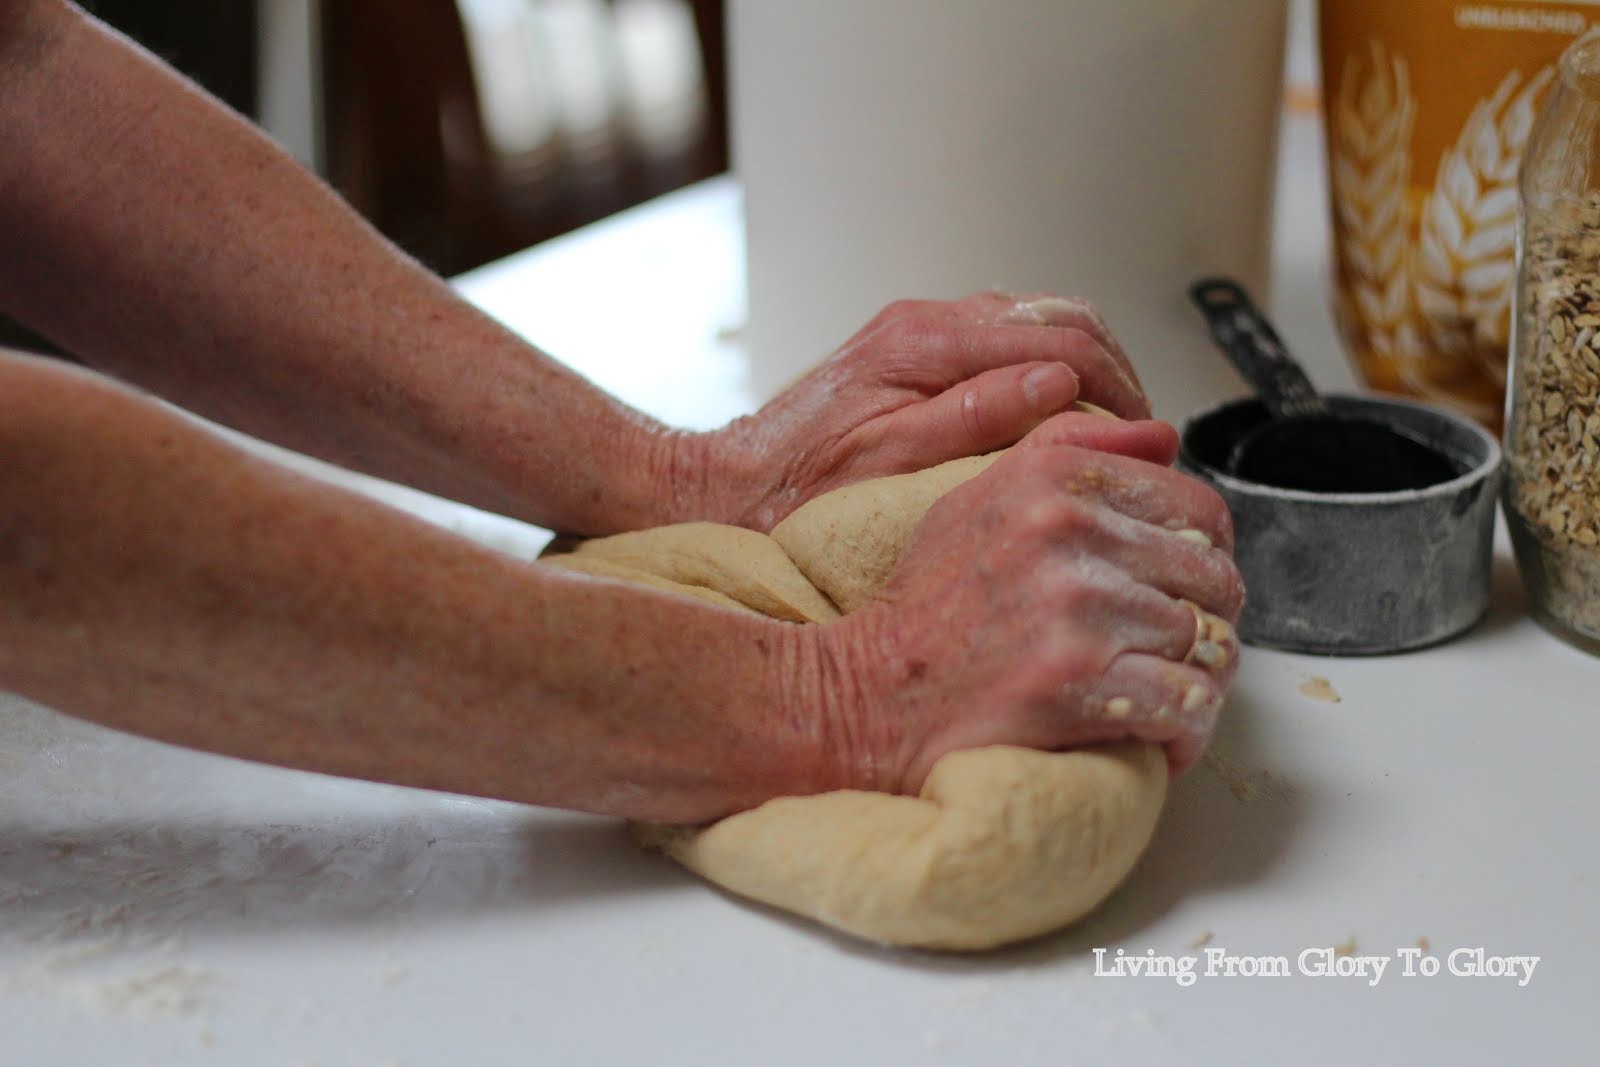
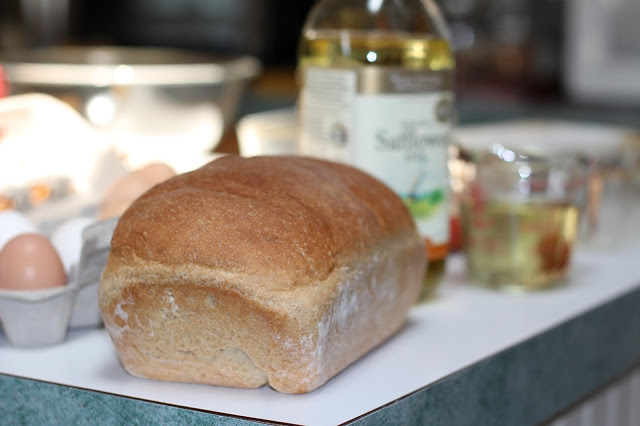
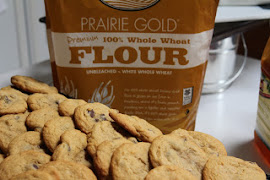
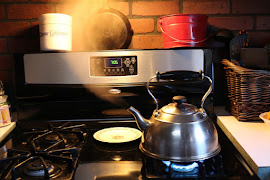
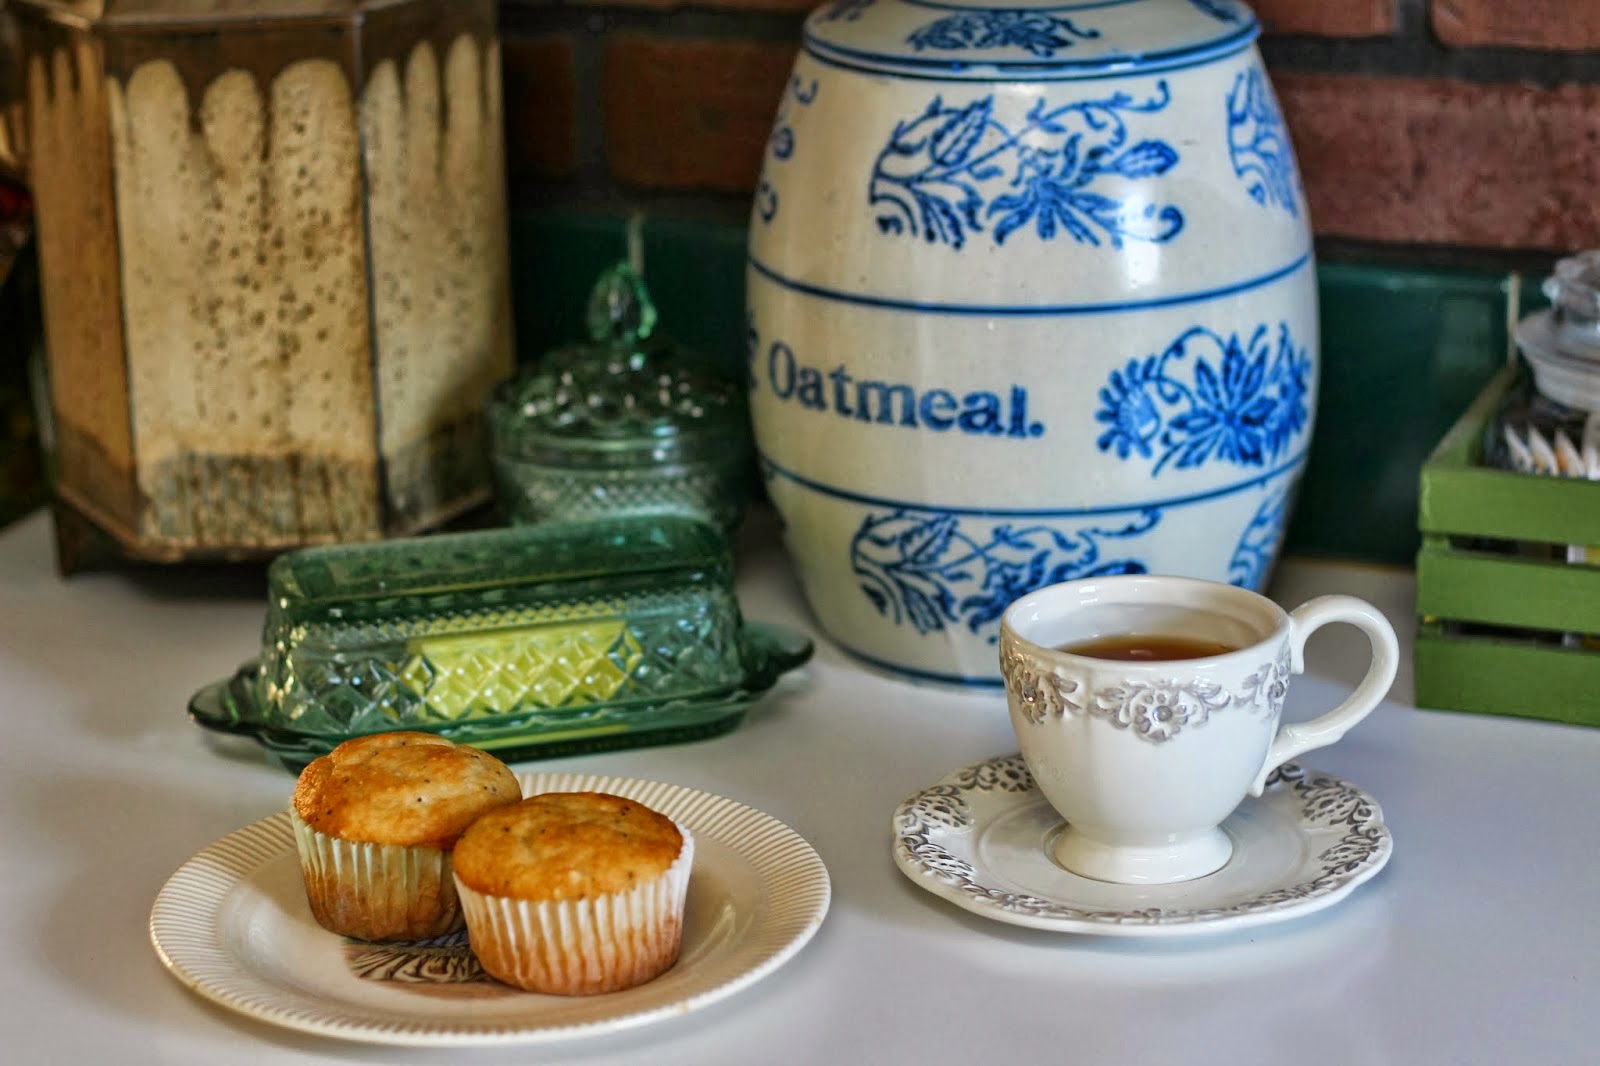
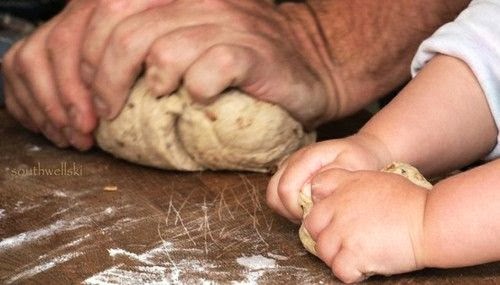
I have so many Breads and Muffin recipes!
I find it easier to just pull out the notebook that has my Breads!
The staple of life! 
Have you tried my Pumpkin Bread recipe?
Really, it is the BEST ever...
It makes three loaves at a time, one to eat, and one to freeze, and one to give away!
Click Here


Now, in this little Large notebook is my Sweets!
I once heard a friend say that her first tooth she cut was a sweet tooth...
I do think that is a true statement
(As I read it on the Internet also)
(And I also heard they can't print anything that is not true)

Now, this is filled with so many special and dear to my heart recipes of
Cookies and cakes and cream puffs!


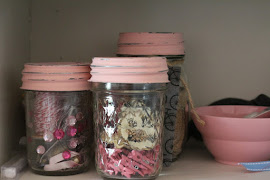
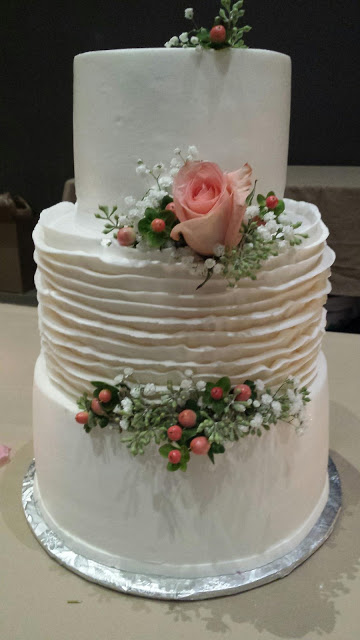
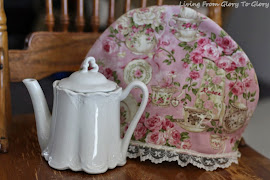
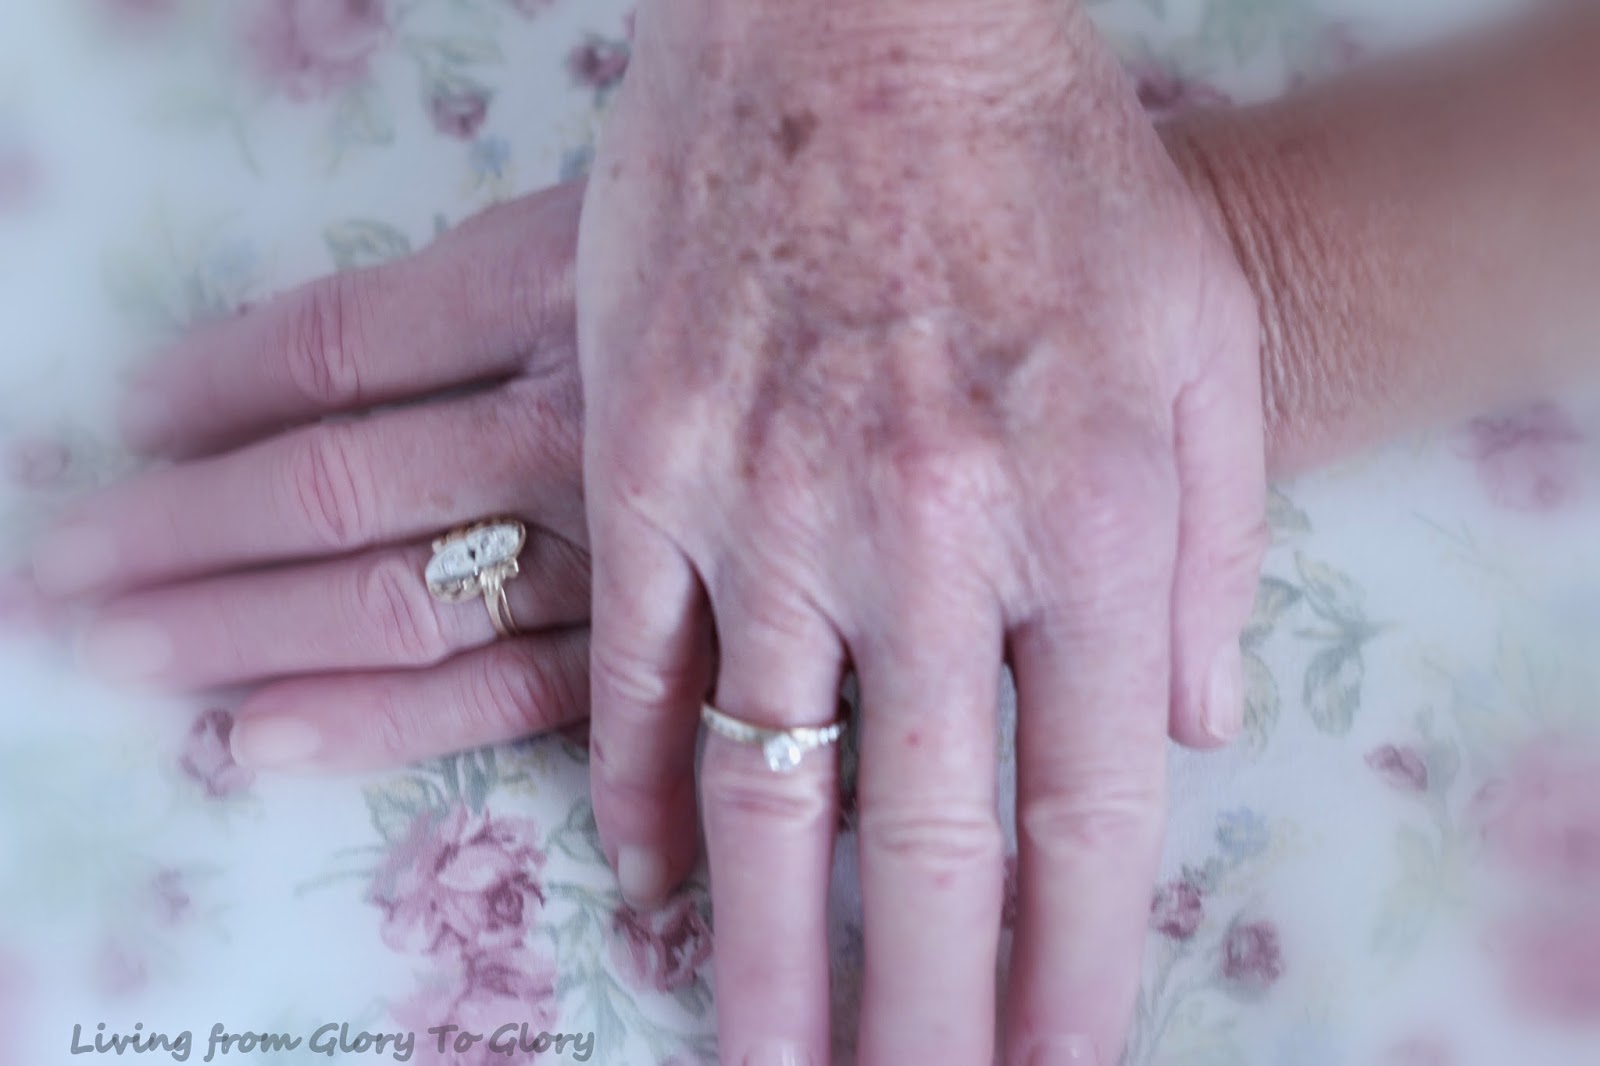
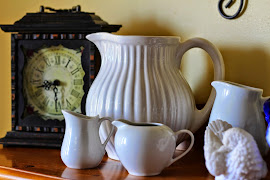
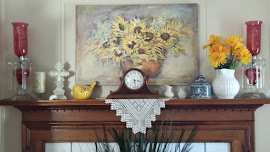
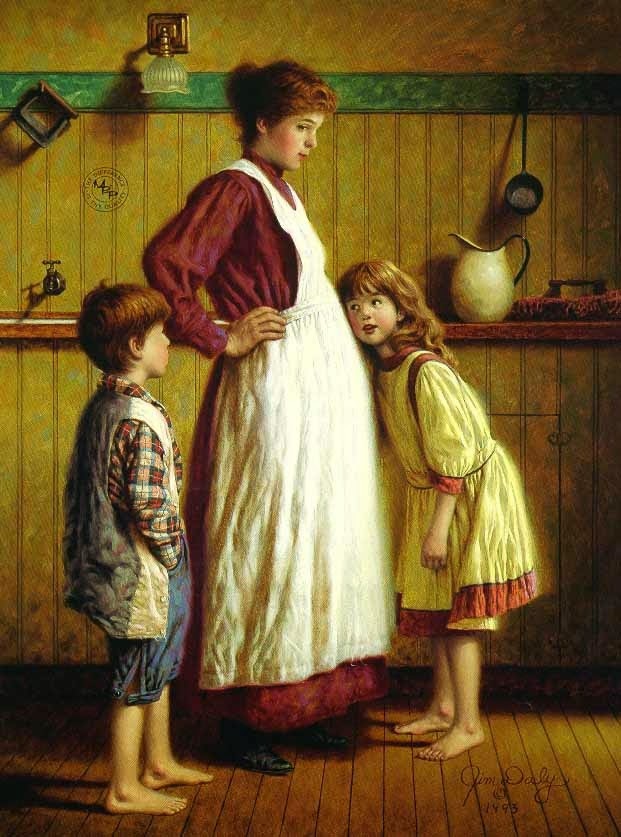
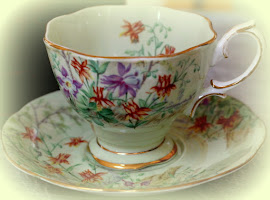
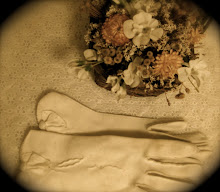
Your collection of recipe  should be very special and pretty looking.
 As they really are heirlooms for your family and children to pass on!
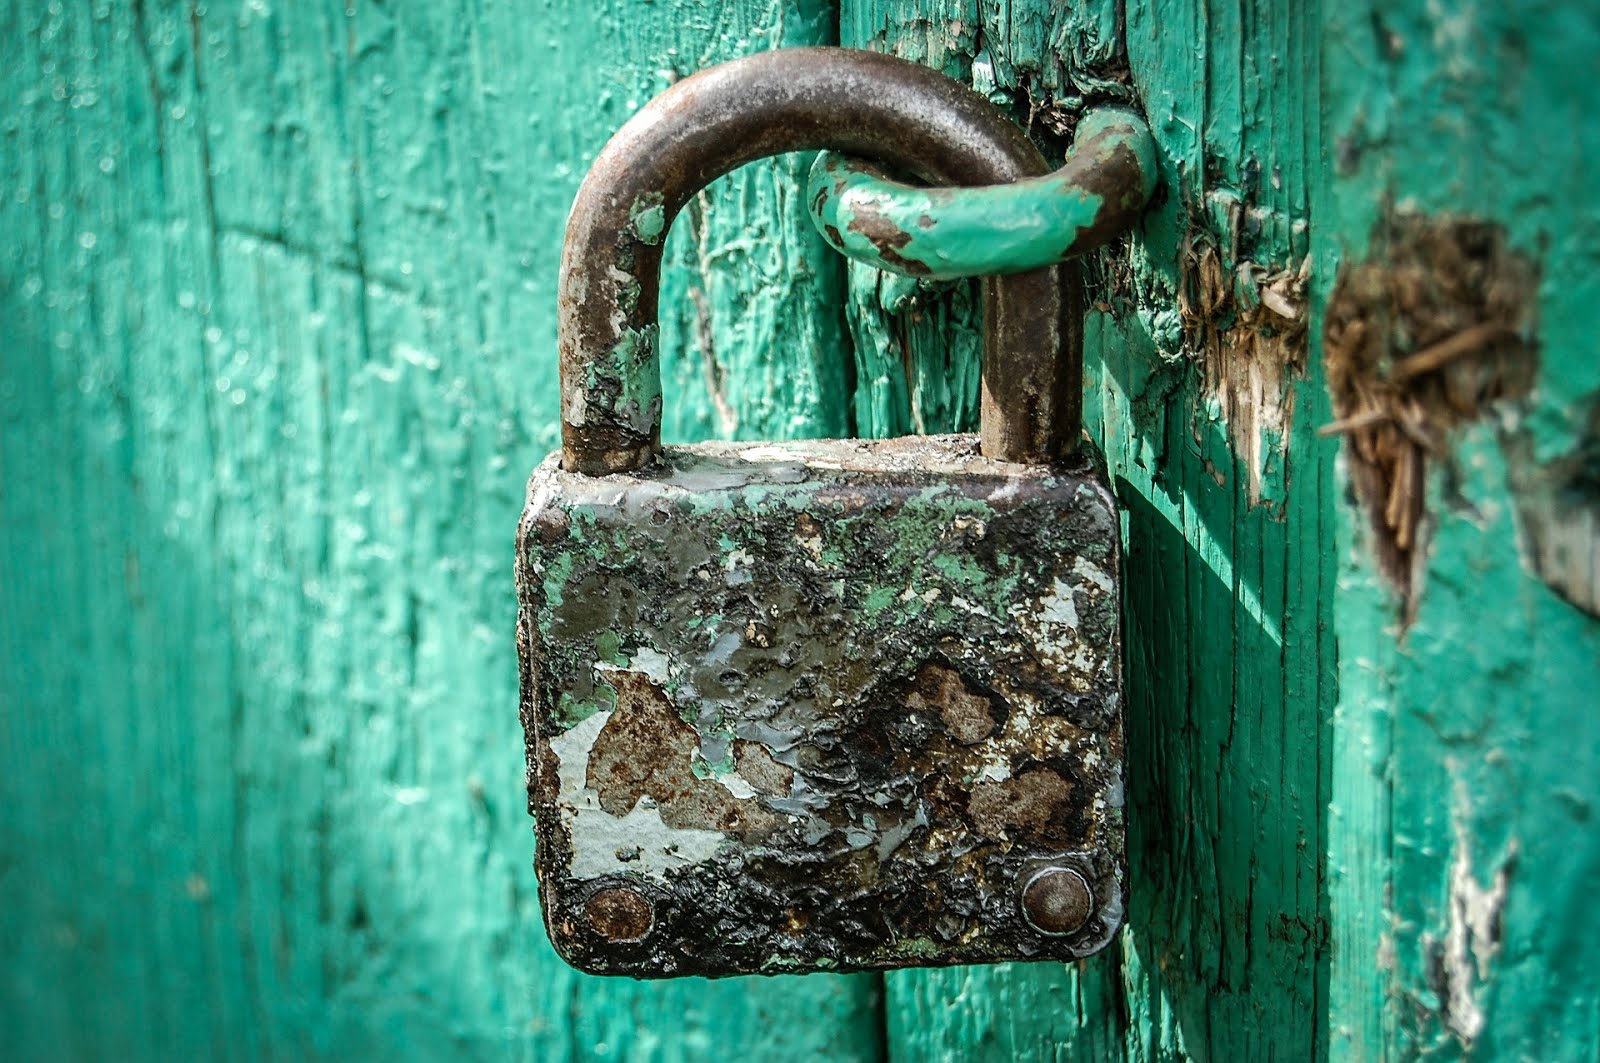
Taking care of them and preserving them is a wise thing to do!

You will need a bit of pretty paper and some craft scissors,
Sticky adhesive photo splits.


What I did was put out a large card table, and started going through my box of recipes.
Then I started arranging them, I put them in stacks of the categories I chose,
from the above notebooks.You can have as many as you want.
Or make it as easy and simple as you would like!

I used my printer and recopied some of them, others I just slid them
into a plastic sheet protector. 
It was so much fun to read over so many recipes.
Memories...
Now, this is where I made the decision on what recipes to keep and those to toss.
I asked myself if it was not family history or an heirloom to me, if I 
had not ever made this or had no future plans on doing so out it went.

This was a couple of weeks in the making, as I did take my time 
and enjoyed the process. 
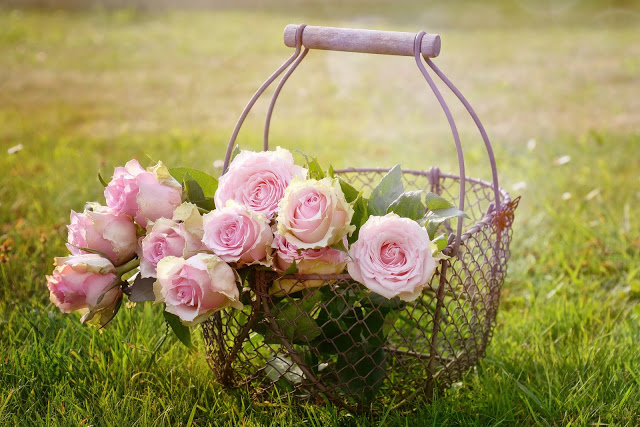
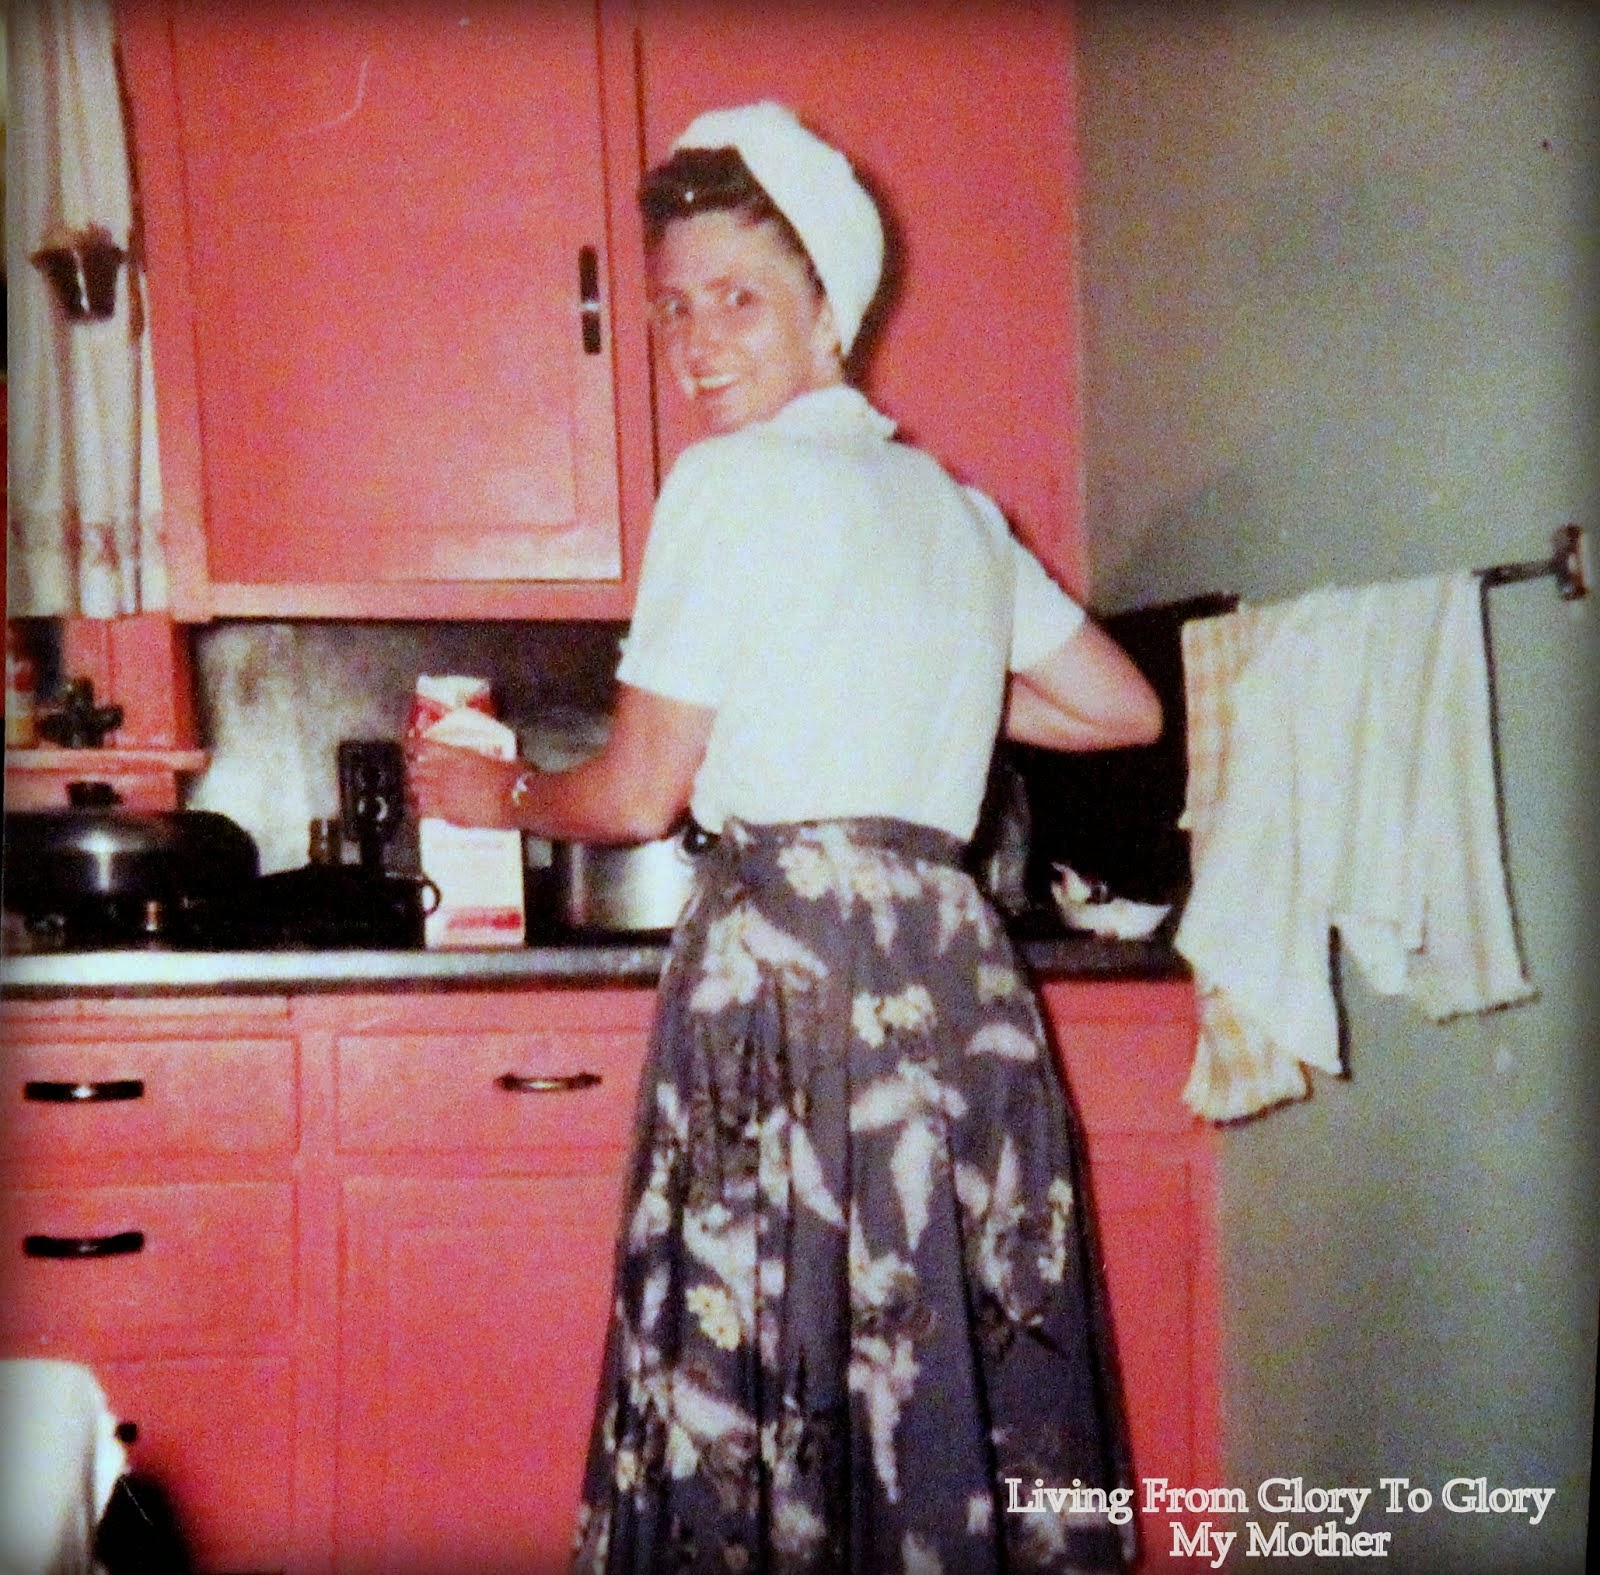
So I encourage you ladies to think about making up your own,
Family and your Mothers or Grandmothers special recipe notebooks.
This project might be something to do this summer
  when it is too hot to go outside.
In my case I did do it this last winter when it was too cold to go outside!


Thursday, April 24, 2014

How To Make Scalloped Potatoes and Ham...


So Easy To Make...
Living From Glory To Glory Blog


I just wanted to say good morning, as I live out West
 and most of you ladies have been up for hours.
And for those on the other side of the
World you are just going to bed... So good night!

I made a delicious casserole for dinner last night, and this
is one of my favorite comfort foods.
It is made with your left over Ham from Easter or another holiday meal
Remember not to waste it!
Either cut it up and freeze for later or make this dish tonight!
Being Frugal with our resources and meal planning is just plain wise!

Our Men love any meals prepared with meat,
(Unless of course you are a vegetarian, skip this post)

Scallop Potatoes with Ham

This is so good and easy peasy too!
This is what I do;

Wash and peel six potatoes, slice thinly and place in cold water with some salt.
Let them sit for about 10 minutes (gets the starch out)
Slice a good amount of your Ham (as much as you like)
Use 1 can of Cream  mushroom soup
3/4 can milk
1/2 cup grated cheese
Salt and pepper
Shake of garlic salt

Now drain your sliced potatoes and place in a large bowl
Add your can of soup and milk
Add your diced or sliced Ham chunks
Mix in cheese and salt and pepper and garlic.
Spray a 9x13 pan
Pour into the pan and cover with foil
Bake in preheated 350 degree oven
Bake covered for 45minutes,
 Uncover and bake another 10 minutes to brown it!

You can add onions if you like and more cheese;
Sometimes I have added crushed chips on top.
This is not a precise recipe, there is a lot of room to experiment.

Remember the four day rule!
After Four days throw it out!

Some mornings it seems like the Birds singing just sounds sweeter!


Friday, April 18, 2014

How To Prepare Potato Salad With Dill...


Yummy Potato salad, Living From Glory to Glory Blog


Potato Salad With Dill...

I have always enjoyed having a bowl of potato Salad made up
 For when we have our family get-together's
 And,of course, picnics and special celebrations.

I like to have a few things I can make the day before. To make the
Kitchen preparation a little easier.
Potato salad is one of those dishes that fit that requirement.
I even think it taste better after it has a chance to marry their flavors and to allow
 it to get very chilled and settled.

I have been told that my version is very yummy and unique.
I attribute it to the dill weed I put in mine.
You can use fresh or dried!

Firstly, start with boiling your potato's
Add hard boiling your eggs.


After they are cooled enough to handle you may start;

Peel most of the potato's, leave maybe one with the skin on,
As this makes it look very Home style looking.

Peel your eggs also;
Cube your potato's to a bite size portions;
Dice up your eggs
Wash and slice up three green scallions.


Now to make your mayonnaise based cream sauce
Recipe below


Firstly, shake a small amount of olive oil onto your diced potatoes.
Now add your diced eggs.
Add sliced scallions

Living From Glory To Glory Blog

Sauce
In a small bowl, mix together these ingredients
1 cup mayonnaise
1/2 cup milk
2 tsp. Yellow mustard
Garlic salt to your preference of taste,
Salt and pepper
2 tsp of dill weed, fresh or dried!
Whisk together and then pour over your potatoes and eggs.
Lightly fold this into the potato and eggs to coat it!

Put it into a pretty glass bowl and sprinkle the top with dill weed
And of course a little paprika for  color.
Cover and refrigerate quickly.
Just before serving, you can slice a hard boiled egg thinly and lay across the top!

(Potato salad is only good for 3 days)


Wednesday, April 16, 2014

How to Prepare Fresh Asparagus Spears Roasted...


Fresh Roasted Aspargus...
Living From Glory To Glory Blog


Garlic-Roasted Asparagus

Asparagus recipes don't get any easier than this.
 Simply toss asparagus spears with sliced garlic, olive oil, salt, and pepper,
 and roast until tender.

Directions
Preheat oven to 450 degrees F. Snap off and discard woody bases from asparagus.
 Place asparagus and garlic in a 15x10x1-inch baking pan.
 Drizzle with oil and sprinkle with salt and pepper. Toss to coat.
Add sliced fresh garlic for amazing flavor
Roast for 10 to 15 minutes or until asparagus is crisp-tender, stirring once halfway through roasting.
 Serve immediately!
 You can also sprinkle a little bit of cheese  like a Parmesan!

Makes: 6 servings
Prep: 15 mins
Roast: 10 mins 450°F


This is the very best way to cook your asparagus in my opinion,
 I find the garlic makes it just heavenly!

I remember as a child going out hunting for the fresh asparagus in our fields.
They were fresh and tender and we ate them with great gusto.
Melted butter on slightly cooked tender spears.
When the asparagus was ready to pick, Spring had truly come.

I have bought my 2lbs of fresh spears to prepare for this Sunday's feast...
Enjoy the bounty of each season.


Sunday, March 23, 2014

My Kitchen Maid...

 
Living From Glory To Glory Blog

 Hello Ladies meet the new girl on the block..
She is my new maid!!
She is my KitchenAid...

The days we live in just amaze me!

  Now I can do two things at once,
While I am mixing up my batters for the cakes and cookies.
 I can get the other ingredients ready and not have to watch the bowl and hold the mixer!
I can let this sweet little thing do all the hard work for me!
(And if you make carrot cake like I do, it is a heavy batter)

I was so surprised when my sweet Hubby came home with this new wonderful mixer!
I have never had one before, so I guess you just figure,
Heck, I have stirred it myself for years, do I really need one?
Maybe not need it, but it is wonderful now that I have one!

I also have gotten all my flours  put into large glass jars.
It has inspired me to bake and to use all the wonderful, healthy things I have!

I have always felt that to do a job it is easier to have the right tools.
Or equipment
 RIGHT?

So I just wanted to share my new maid with you!
She is lovely and well built..
May she serve me well and may I be inspired to make some wonderful,
And healthy breads and cookies for my sweet Hubby!

I think there is just something about having all these glass jars out and on the counter,
It is pleasing and encourages me, and inspires me!

Living From Glory To Glory Blog


Thank you Lord for my new maid :o)


Monday, March 17, 2014

Irish Soda Bread, Quick and so Easy...


Irish Soda Bread


Serves 8

Ingredients

  • 3 1/2 cups all purpose flour
  • 2 tablespoons caraway seeds (optional)
  • 1 teaspoon baking-soda
  • 3/4 teaspoon salt
  • 1 1/2 cups (about) buttermilk

Preparation

Preheat oven to 425°F. Lightly flour a baking sheet. Mix flour, caraway seeds, if using, baking soda and salt in large bowl. Mix in enough buttermilk to form moist clumps. Gather dough into ball. Turn out onto a lightly flour surfaced and knead just until dough holds together, about 1 minute. Shape dough into 6-inch-diameter by 2-inch-high round. Place on prepared baking sheet. Cut 1-inch-deep X across top of bread, extending almost to edges. Bake until bread is golden brown and sounds hollow when tapped on bottom, about 35 minutes. Transfer bread to rack and cool completely.

Update: I did preheat my oven, but turned it down to 350 degrees to bake it and it only took about 20 minutes.


I will be making this Irish Soda Bread Recipe tonight;
I have never liked raisins or caraway seeds in my bread.
I have finally found a link explaining that raisins were not in the original 
Soda Bread. 
Just Saying...


Friday, March 7, 2014

The Color of Life, Vibrate Greens...


Fresh Steamed Broccoli...
Living From Glory To Glory Blog

The Power of Greens

Green is a powerful color, it stimulates life and energy.
 We were born to enjoy the colors!

Green is vibrate and helps us feel alive.

After a long season of browns and browns, we desire color and life.
So many are feeling tired and worn out, and yes, we are busy but maybe we just
Need the change of added colors to our senses.
We can bring about these changes through the foods we are eating.
We need to start eating more salads and green veggies.


Living From Glory To Glory Blog


I have been enjoying a Raw Power Food called:
 Perfect Food
RAW Organic Green Super Food
This is a supplement; but I believe it has helped me!


Bringing in even a new plant this time of year can help!
Adding a touch of bright colors such as buying a small bouquet of flowers,
Can cheer you quite a bit!

Surroundings can help us with how we are handling our emotions!
I try to do something every day that brings me pleasure and brings cheer
To my HOME and my HEART!

Putting even a pretty bowl filled with apples or oranges, on the table,
Can inspire you!.

I love to buy broccoli and to steam it till tender as shown above
Then I add a bit of Parmesan cheese on top and serve it.

Eat your Greens Dear Ones, because we need it so very much....


Wednesday, February 12, 2014

The Real Deal...


Sweeter than Sweet

Okay, This morning I am feeling much better!
In my last post I was sharing of my bad reaction to the product Stevia.
I know many people, my Husband included can use this product,
With no reactions!

But I have always been the 1% that will experience a side effect,
If there is even one listed!
The muscle pain was so very weird, and so not worth me using it any longer.

In my pretty green sugar bowl is a sugar mixture of a few products;
(The green sugar bowl was a gift from my daughter and daughter in love)
MANY YEARS AGO....
Mixed together:
Coconut sugar
Sucanat
Pure Cane sugar

Also, I have Agave, which I was disappointed to read it is much 
Like High fructose syrup!

Now, the Honey is natural and from a local Bee Keeper
Even though it is in this container (I liked the squeeze bottle)

I believe I have more sweet taste buds on my witty tongue;
And therefore I need a bit more sugar!
Or maybe this is what they mean by when someone says SHE (me)!
Has a sweet tooth....
Hmmmmm!

I am so Blessed and Happy!!
We all need to watch how much sugar we consume;
As so many are in the beginnings of what they call stage 1 diabetes.
(Which is really no such thing)
It is an insulin resistance that comes from
 Too many grains (CARBS) and simple sugars!

This is a learning curve for me;
But I think the GMO thing is a huge culprit.

All this just because some like it HOT!
Some like SWEET!

I love hearing your thoughts and ideas!
Maybe we can have are own reviews and we won't have to Read a book;
And be asked to have a follower's button!
What do you all think?
Will I keep the Button and watch it like a sheet of cookies in the oven;
And hope they don't burn!!
I struggle with rates and followers
I am more like let it flow and grow kinda gal !!


Wednesday, February 5, 2014

Puffs With Cream Made With LOVE...

Living From Glory To Glory Blog
Fresh Cream Puffs Right Out Of The Oven...


Living From Glory To Glory Blog
One of my most favorite desserts I remember as a child was my Mothers
Cream Puffs!

They are light and fluffy, yet filled with a cool rich custard or pudding.
You can make this real fancy or easy.
The shell is the secret and they can be made ahead as they last
Quite well, for a couple of days.

I usually make my own homemade pudding for these;
But as I said you can use a pudding mix.
Vanilla or Chocolate

But I must mention that these will taste like a dessert from a french restaurant
If you will take the time and whip up some fresh whip cream.
(Trust Me)


I went ahead and found a good link for you to be able to read and follow;
Because for the first time of making these I did not want to try to remember
All of the steps, and possibly leave one out!
As you all know we bake and cook most things without a recipe.
Don't you love the recipes that say a dash of this and a splash of that.
Or a dollop of this and best of all, do I whip it, beat it or crush it....
So Ladies click the link below and let this wonderful link
Fill in all the gaps and create the most amazing and delicious dessert ever!


Make a little LOVE!!

My Recipe For Cream Puffs

Bake at 400
For 30 minutes or until Puffed-Up and brown on top!
(Not soggy)
Makes about 10 to 12 Puffs

1 cup water-measure this accurately
1 stick butter
1/8 tsp salt
1 cup flour
4 large eggs

1. In saucepan, add water and butter and salt;
Bring to boiling, Quickly now add the flour
 All at once stir vigorously.
Reduce heat to low...
Cook and stir until mixture forms a ball of dough -about 1 minute.
Remove from heat, cool for 5-10 minutes.
Now add eggs-
You can either beat all eggs together in a bowl and add mixture all at once or
(I do it this way)
Add eggs, 1 at a time, beating each one well with a wooden spoon
This dough will be smooth, creamy and thick

Drop about 1/3 of a cup of dough onto an ungreased cookie sheet.
Bake in a hot oven that has been preheated, they take about 30 to32 minutes.
Once done baking, remove to a wire rack to cool.

Once you are ready to serve them you slice them in half or just the tops off;
Now, you can fill them with pudding or whipped cream.
Now add the top back on and garnish with powder sugar!
Only fill them before serving them as to not allow them to get soggy!

Also, you can make little ones for a party, just bake for a shorter time.

How To Make:
Homemade Vanilla Pudding

Ingredients needed:
2 cups milk
1/2 cup sugar
3 tablespoons of cornstarch
1/4 tsp salt
1-2 tsp. Vanilla extract
1 tablespoon of butter

Now:
In a medium saucepan that is slightly heavier;
Add 2 cups milk
Heat this milk until bubbles form at the edges;

Now add this mixture that you have mixed together in another bowl beforehand!
1/2 cup sugar
3 tablespoons of cornstarch
1/4 tsp salt

Pour this dry mixture into hot milk a little at a time
Stirring till all is dissolved.
Continue to cook and stir till mixture thickens enough to coat a the back of a metal spoon.
Do not boil...
Now Remove from heat and now add vanilla and butter
1-2 tsp vanilla
1 tablespoon of butter.
Stir till blended...

Place in a pretty bowl or custard cups,
Cover with a lid or plastic wrap and chill for Cream Puffs,
Or to eat as a dessert by itself.


Blessings,
Roxy

Monday, January 20, 2014

How To Make Delicious Potato Latkes...


Living From Glory To Glory Blog, How to use leftover mashed potatoes

Potato Latkes

These are the very best tasting way to eat leftover Mashed potato's!
These are so good that when I plan on making and serving mashed potato's
I always make a few extra so I will have some leftovers!

So many of us are trying to be frugal these days, It is showing wisdom,
When we do not waste our food!
I try to ask myself, how many hours my sweet Hubby has to work?
To be able to purchase these items; 
Whether it is food or other things.

Everything costs somebody something!

So in lieu of inflation and being wise and frugal,
We can make a very simple and delicious meal from our potato leftovers.

There are so many variations to make these scrumptious cakes (Latkes)

Potato Latke's
Place your leftover mashed potato's in a bowl
Add 1 egg
1/2 onion, minced fine
Add any cooked meat you might have;
(Roast Beef, Chicken, Ham, or Bacon)
Chop it into bite size pieces and add it to the Potato's
Now add about 1/4 cup of flour into bowl
(As you need this to help hold them together)

Now get your large skillet and add some olive oil
And some butter,
Now, make as many little cakes as you can that will fit in your skillet.
Allow them to cook on medium heat so they brown well and cook up nicely!

I like to add a dollop of sour cream on top and serve!
A lovely combination is so have a crisped tossed salad along side it.


Thursday, January 16, 2014

How I Make Pastry Dough Cinnamon Bite Size Rolls...


Living from Glory to Glory Blog


This is a wonderful yummy cinnamon bite
 That you make from a pastry dough.

I like to make these when I am making pies,
Because instead of using yeast dough, you use the pastry.
I just make a double batch of my pastry dough up when
 I am going to make my pies.
 So, while I have everything out,
 I make up these yummy treats!

Or just make this dough just for the cinnamon bites!
I have sweet memories of these because
 Every time I made up my dough for baking pies,
My Children, would help me make these cinnamon bites.

I think Children love making and eating these, because
They get to help make up the dough and rolling it out and
slicing them up is their favorite part!

These are a very cute treat to use for a tea party with your 
Little ones! It is fun to plan tea parties with them.
As these are times we can teach a few social graces...
Even the little boys love;
Tea Parties!

Pastry Dough
In a mixing bowl, add;
2 cups flour
3/4 tsp. Salt
2/3 cup shortening or lard or butter
(I have tried them all)
Set aside your liquid of;
1/3 cup ice water

Now, cut in your choice of above ingredient.
It should resemble clumps of dough;
Now, add your ice water and make your dough up.
These will make up enough dough for a 2 crusts pie.

Roll out your dough as for a pie, then
Spread butter on it nice and thick,

Sprinkle some brown sugar on it;
Add a little bit of white sugar if you like.
Now shake a good amount of cinnamon on it!

Now roll it up like a big log.
Slice them about 3/4 of an inch thick.
Put on a greases baking sheet.
I like mine gooey so a pat a dab of butter
On each one, and then I bake them.

350 degrees
7 to 10 min bake time.
Or until they are lightly browned.
Take  them out of the oven and remove from pan right away,
As they really stick to the pan :(

My son is 35 and he still loves these!
Happy Baking!

Now, Serve with tea or (milk) and enjoy!

Blessings,
Roxy


Friday, January 10, 2014

Quick, Easy Bread Recipe...


Living From Glory to Glory Blog,


Quick, Easy Bread Recipe!


Makes:2 loaves
Prep Time:30minutes
Proof Time:30 to 60minutes
Bake Time:25 to 35minutes
Read Through all of the directions first!

Home made Bread
Living From Glory To Glory Blog


This recipe is great for sandwiches and toast!

In large bowl add dry ingredients:
4 cups whole wheat flour
2 cups unbleached white flour
2 envelopes Fleischmann's® Rapid Rise Yeast
2-1/2 teaspoons salt
In a glass pitcher, add liquid ingredients: then heat till very warm.
1-1/2 cups water
1-1/2 cups milk
1/4 cup honey
1/4 cup olive Oil
Directions:

Combine 3-1/2 cups flour, undissolved yeast and salt in a large mixing bowl. Heat water, milk, honey and oil until very warm (120o to 130oF). Gradually add to flour mixture; beat 2 minutes at medium speed with electric mixer, scraping bowl occasionally. Add 1 cup flour; beat 2 minutes at high speed, scraping bowl occasionally. With spoon, stir in enough remaining flour to make soft dough. 
Knead on lightly floured surface until smooth and elastic, about 6 to 8 minutes. Cover dough and let rest 10 minutes.
Divide dough in half. Roll each half to 12 x 7-inch rectangle. Beginning at short end of each rectangle, roll up tightly as for jelly roll. Pinch seams and ends to seal. Place, seam sides down, in 2 greased 8-1/2 x 4-1/2-inch loaf pans. Cover; let rise in warm, draft-free place until doubled in size, about 30 to 60 minutes.
Bake in preheated 375oF oven for 25 to 35 minutes or until done. I also turn my oven down to 350 degrees!
Remove from pans; let cool on wire racks. (Note: to test for fully baked inside, the internal temperature of bread should register 190oF in center of loaf.)
I do not test my Bread this way, but rather tap it, it should sound firm!
I think every Homemaker needs a tried and true EASY Bread recipe...
I have made this Bread for many years. But I thought I had lost it, I could not find it anywhere!
I googled and looked at Recipe books to no avail, This Bread recipe was not to be found anywhere!
But, God is so good because I wanted to cry and low and behold, I found it! 
It was on a back of a very old Fleischmaan's yeast package of about 30 years ago. So I am letting YOU ALL have it so if I lose it again, you can send it back to me!
Oh, and DO NOT forget the Butter on your fresh warm sliced bread!

Living From Glory To Glory Blog
Blessings,
Roxy

Wednesday, January 8, 2014

How to make The Best in Winter Cold...


Sometimes it is just a really long day when it is cold outside!

I am really very shocked at the extreme cold temps 

We are seeing in so many parts of our country!


I believe because these are the extremes we are going to encounter!
We must learn and be prepared!

And we women as the homemakers need to have a plan and provisions!


This is the very reason we must be well stocked...

You need to take stock of which items you will need to prepare
Warm and nutritious meals!

We must also have all the provisions,
To keep things going when the power goes out!

Heat is the most important!!

Food

An oil lamp for light;

Flashlight

Candles and matches.

Water

Extra Blankets


In these winter months the snow can keep you within doors
And house bound for long periods at a time,
So;
Make your list now as a family to be prepared!
Make a list of the most important items your family needs...
This is just plain wisdom dear ones!

Having some good books on the bookshelf to read is wise!

Items for the children to make when indoors for long periods
 (A Craft Box filled with goodies)

Remind Yourself...
(A cup of hot tea)
 Does A Mommy good!


I have lived through a couple of very bad storms.
And I can tell you that because we were prepared in many ways it was
so much safer and comfortable for us!


I believe everything the Lord allows us to go through
Makes us wiser and stronger!
But, because the Lady of the home is
Still the heart.
She must learn to gird up her loins;
And;
To be ready to run and prepare and adapt to her Husband.
And for her family no matter the season or situation!


Do not get gloomy during these long
( Days and months of cold!)

Learn to knit or crochet!

Write an encouraging note to someone.

Bless and create!

Put Up a small table in your living room and start a scrapbook!

Start with some small deep cleaning projects to keep warm!
( My Hubby always says the heat is in the tools)

Read the Gospels!
Start for yourself a fun way to study the word!
Use a notebook and write out the scriptures;
Then add with color pencils to add notes and symbols to embellish it!
Makes it fun and the words just pop!

Read aloud to your children if they are young.
(They really love this)
Any sweet children's book will do!
May I suggest the Laura Ingles Books


This is a perfect time to learn to make Bread!
(It will warm up the kitchen, and everyone loves fresh bread)
Here is an Easy Recipe here!

Quick and Easy Bread Recipe

I think of the warning in the Word;
The Love of most will grow cold!!!...

May the cold not be allowed to seep into YOUR heart!

Blessings,
Roxy


Sunday, December 29, 2013

Super Easy Shrimp Dish (A-To-Fay)

Living From Glory To Glory Blog
 A-To-Fay
This is one of my favorite dish's!
It's so delicious,

This recipe starts with 
 Raw shrimp and is combined with a hot and spicy cream sauce.
You can add any kind of white fish with it, such as Cod or Flounder.
Some versions can also have a smoked sausage added to it!

This is a really fun dish to make for New Years Day!
In some parts of the world, it is a tradition!

I have made this for many parties and get togethers!
It really makes a large amount ad goes a long way!


Here is a picture of some of the ingredients for this!
Yummy spices and shrimp that is raw, but it needs
To be devined and peeled and the tails are off.
Wash them off, but do not pre-cook.
Living From Glory To Glory Blog

A-to-fay

1 onion, diced small
3 stalks of celery, diced fine
3 cloves of garlic, diced
Brown all of these in some butter and a bit of oil.
Add your garlic last so it won't burn.

Now add  two can of cream of mushroom soup
Add one can of Cream of Celery soup
Add 1/2 can of milk
Add 1 can of Rotel tomatoes (something with a bit of kick)
Add some spices now;
Chili powder
Cayenne
White pepper
Oregano

Now add your raw devined shrimp and your fish
Stir lightly and cook for about 25minutes.

Now, serve this A-To-Fay over rice
 (White or brown or even wild rice)

I like to serve this dish in one of my soup tureens,
As it keeps it warm and it looks so pretty!
Enjoy!
Living From Glory to Glory Blog

Blessings,
Roxy

Saturday, December 14, 2013

How To Make The Best Peanut Brittle Ever...


Peanut Brittle
This is one very special  treat!
that has  many sweet memory's
attached to it.

 Especially, if you are a wee bit older!

Peanut Brittle is a unique combination,
It is salty and crunchy and sweet!
 And you can never just eat one piece!


I have made many versions of this persnickety Christmas treat...

My first attempt of making Peanut Brittle, we almost had to
 Throw away a cookie sheet, and a bowl that had
 Peanut Brittle stuck to it for life..

But a few years ago I found a recipe from this couple,
that made it in the microwave!!
Now, this couple was versed in Peanut Brittle making!
So, I thought my Hubby and I can do this...
Well...
Our first attempt was hard as a rock,
 as we did not read the recipe all
the way through first !!
May I suggest you read it all the way through and underline
All the times of cooking and any details that stand out.

Remember this is a science.
Peanut Brittle is not for the Wimpy bakers!
It takes wit and fortitude!!


Here is my batch spread out on a greased cookie sheet.
Living From Glory To Glory Blog
Here is their wonderful recipe below "Enjoy"

The Garriguses, who are both 83, have been married 63 years. They've lived in several states over the years. Two of their children, Debbie and Danny, and their grandchildren and great- grandchildren live out of state. Son Ron lives in Lexington.
Rozelle begins making peanut brittle by spreading butter over a ceramic cutting board.
"Use your fingers. God made fingers to work," she said.
Never spread the candy on an ungreased surface; it will stick.
Leo Garrigus uses a spatula to lift and move the candy as it hardens. He learned this after he had to chisel it off a cutting board one time, he said.
Here's how the Garriguses make peanut brittle.
In a 2-quart Pyrex bowl, stir together 1 cup sugar and ½ cup white syrup (measure accurately.) Microwave on high for 3 minutes, 40 seconds.
Remove from microwave and add 2 scant cups (cups not quite full) dry roasted salted peanuts. Punch them down into the mixture. Do not stir.
Return to microwave and cook for 2 minutes, 30 seconds. Remove from microwave and add — but don't stir —1 teaspoon vanilla and 1 teaspoon butter. Microwave for 1 minute, 30 seconds.
Remove from microwave and sprinkle with 1 teaspoon baking soda. Stir the mixture. It will foam. Immediately pour mixture onto the buttered surface. Drag the bowl along to make sure the mixture is flat. Using a spatula, lift the candy and scoot it around, so it doesn't stick to the surface. Let the mixture cool until completely hardened, about 45 minutes. Break into pieces.
It's best to store peanut brittle in a tin, but Rozelle Garrigus said, "the fellas eat it up so fast, I've never been able to store it."
I hope you will attempt this wonderful Peanut Brittle!!
One thing I do like about Peanut Brittle as it stays fresh for a long time, you can even freeze it!
If you give this as a gift I promise they will tell you it was wonderful tasting.
Blessings, Roxy


Read more here: http://www.kentucky.com/2010/12/09/1557538/peanut-brittle-is-a-snap-with.html#storylink=cp


Copyright © living from glory to glory | Powered by Blogger
Design Customized With ❤️️ by My Fairy Blog Mother